
How to Clean Floor of Walk in Freezer, first defrost and remove all items, then scrub the floor using a mixture of mild detergent and warm water. After cleaning, rinse with clean water and dry the floor thoroughly to prevent ice buildup.
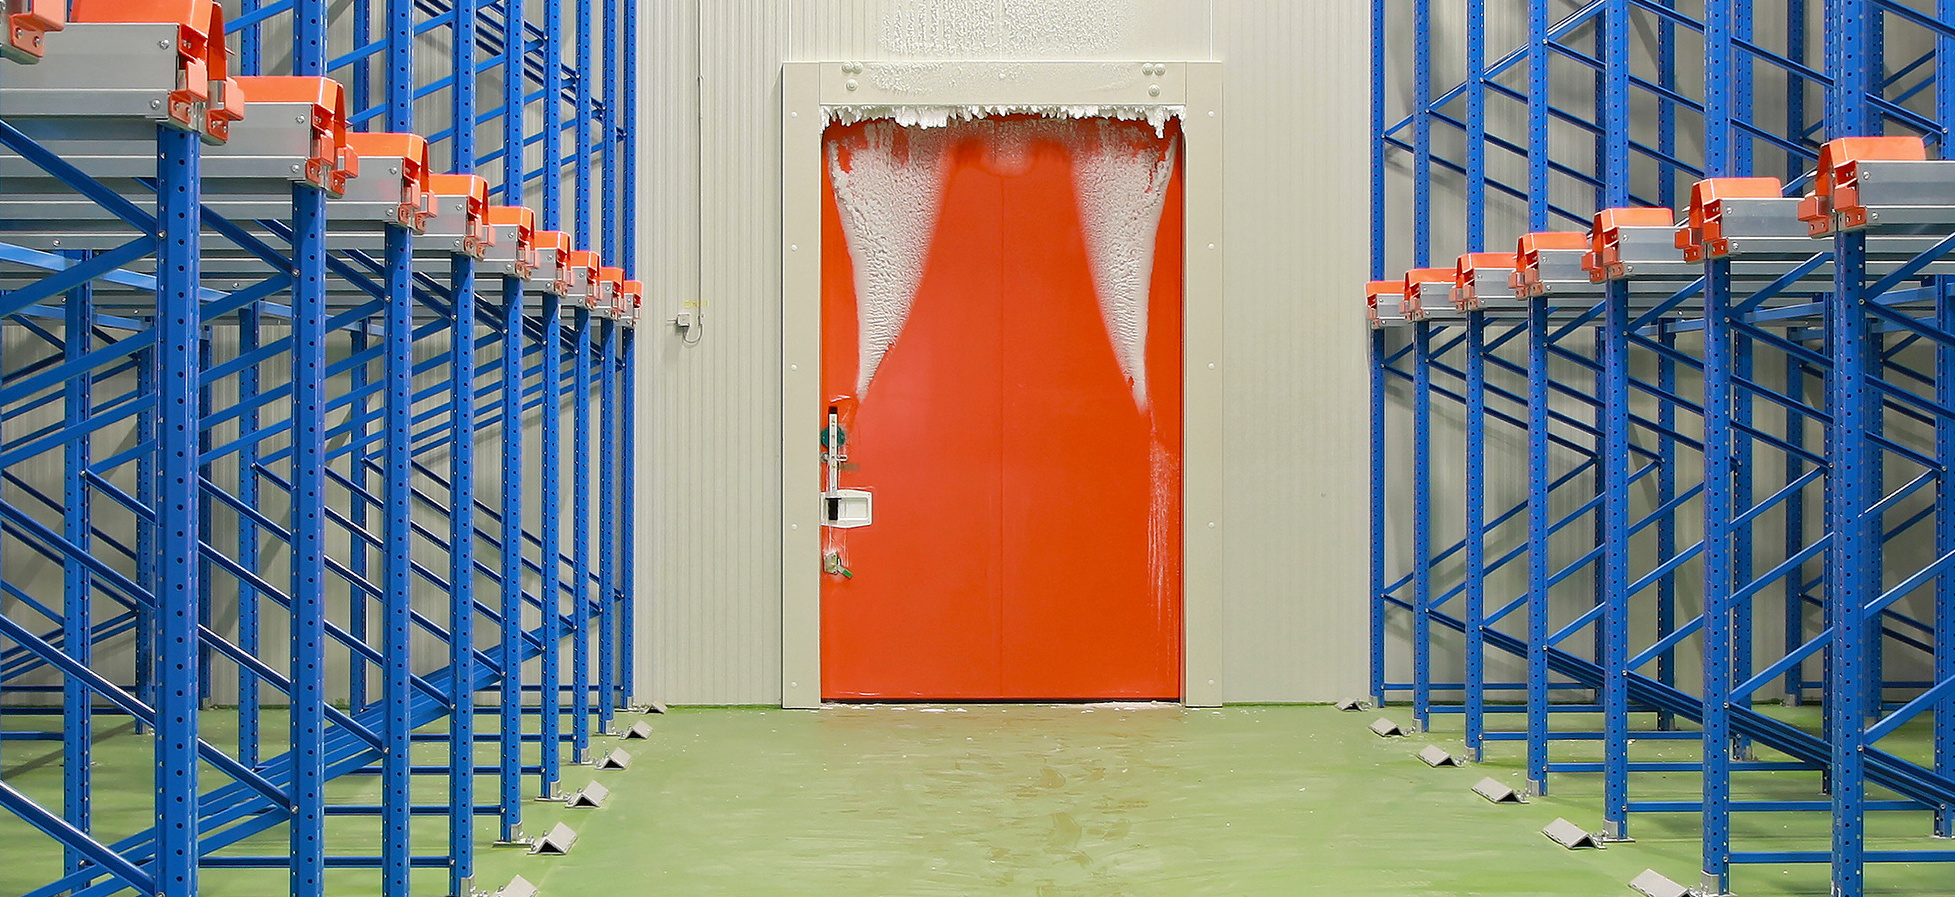
A walk-in freezer is an essential component in many commercial kitchens, demanding regular maintenance to keep it hygienic and in good working order. Cleaning the floor of a walk-in freezer is a crucial task that prevents the growth of bacteria and mold, which could compromise food safety.
The process requires the right cleaning agents and techniques to efficiently remove dirt without damaging the freezer’s floor. Proper drying is equally important to maintain safety and extend the life of the floor. Businesses must prioritize this task to ensure a clean environment for food storage and to comply with health regulations, making it a routine part of their maintenance schedule. With careful planning and execution, the cleaning process can be completed effectively, ensuring a safe, sanitary storage area for perishable goods.
Introduction To Walk-in Freezer Maintenance
Cleanliness and maintenance are critical for any walk-in freezer’s lifespan and efficiency. Regular upkeep prevents food spoilage, ensures safety, and saves on costly repairs. This post reveals the best practices for maintaining a pristine and fully operational walk-in freezer.
Understanding The Importance Of Regular Cleaning
Keeping a walk-in freezer clean is not just about hygiene. It’s essential for optimal performance and energy efficiency. Dirt and ice build-up can overwork the compressor, hiking up your energy bills. Preventative cleaning reduces the risk of breakdowns, keeps food safe from contamination, and maintains consistent temperatures.
- Improved energy efficiency: A clean freezer uses less power.
- Extended equipment life: Regular maintenance prevents wear and tear.
- Food safety: A clean environment combats bacteria and spoilage.
Essential Safety Measures For Cleaning Freezers
Safety comes first when entering the cold zone for cleaning. Here are key steps to ensure your safety and freezer integrity.
- Power off. Always turn off the freezer to avoid electrical hazards.
- Wear protective gear. Use gloves and non-slip shoes to keep warm and prevent slips.
- Use correct cleaning solutions. Non-toxic and freezer-safe cleaning agents protect surfaces and food.

Preparation For Cleaning
Before a walk-in freezer can sparkle, proper preparation paves the way. The preparation for cleaning is essential. It ensures safety and efficiency during the cleaning process. Below, find crucial steps to get everything for a walk-in freezer deep clean.
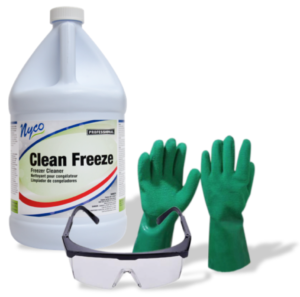
Gathering Necessary Cleaning Supplies
Starting with the right tools simplifies the job. Compile these cleaning must-haves:
- Non-toxic cleaners to ensure food safety.
- Scrub brushes and sponges remove stubborn grime.
- Durable mops and buckets for wet cleaning.
- Protective gloves and goggles shield against chemicals.
Powering Down And Emptying The Walk-in Freezer
Turn off the freezer to prevent hazards. Remove all items from inside. This includes food, shelves, and bins. It provides full access to the areas that need cleaning.
| Step | Action |
|---|---|
| 1 | Unplug or power down the freezer unit |
| 2 | Transfer food to an alternative cold storage |
| 3 | Remove interior components |
Wearing Appropriate Protective Gear
Equip yourself with protective clothing. Gloves protect hands from harsh chemicals. Goggles defend eyes from splashes. Non-slip boots prevent falls on wet surfaces. Always prioritize personal safety.
- Insulated gloves keep hands warm and safe.
- Goggles are a must for eye protection.
- Wear boots with a grip to avoid slips.
Thawing And Initial Cleaning Stages
Cleaning the floor of a walk-in freezer is crucial for safety and hygiene. The process begins with thawing and initial cleaning. This stage sets the groundwork for a thorough cleaning routine.
Methods To Safely Thaw Ice Build-up
Thawing ice is the first step. Use these methods to melt ice safely:
- Turn off the freezer to let the ice thaw naturally.
- Place warm, damp cloths on ice patches to speed up melting.
- Use a rubber mallet to gently break up thick ice.
Never use sharp objects for chipping ice. This can damage the freezer floor.
Sweeping And Removing Loose Debris
After thawing, sweep up debris. Here’s how:
- Wait for the floor to dry.
- Gather a broom and dustpan.
- Sweep all loose debris from the floor.
Dispose of the debris properly. Ensure the freezer floor is clear of any particles that can attract pests.
Deep Cleaning Procedures
Keeping the floor of a walk-in freezer clean ensures safety and hygiene. Deep cleaning goes beyond sweeping and mopping. It involves specific steps to maintain a sanitary environment. Explore the methods to tackle grime and ice, ensuring a pristine walk-in freezer floor.
Selecting And Applying The Appropriate Cleaners
First, choose cleaners suitable for low temperatures. Not all cleaning agents are effective in the cold. Ensure the cleaner is non-corrosive and food-safe. Apply the cleaner using a mop or automatic scrubber, covering the floor evenly.
Scrubbing And Sanitizing The Floor Surface
Use a stiff-bristled brush or a scrubber to agitate the cleaner on the floor. This action lifts dirt and grime. Follow with a food-grade sanitizer to kill bacteria. Rinse thoroughly with clean water to avoid slippery surfaces.
Addressing Stubborn Stains And Spills
Some stains require extra attention. Apply a specialized freezer cleaner to the area. Let it sit for several minutes. Scrub vigorously with a bristle brush. Mop up the stain remover and residue. Repeat if necessary until the stain lifts.
Rinsing And Drying The Floor
Cleaning a walk-in freezer is a task that requires attention to detail. After scrubbing, the next crucial steps are rinsing and drying the floor properly. These steps ensure the surface is safe and slip-free. Let’s explore the right techniques to rinse off cleaning agents and dry the floor effectively.
Proper Techniques For Rinsing Off Chemicals
To remove cleaning chemicals, start with warm water. Warm water helps to dissolve residues. Use a dedicated mop to avoid mixing chemicals. Follow these easy steps:
- Fill a mop bucket with clean, warm water.
- Using a mop, apply the water to the freezer floor.
- Scrub gently to lift any chemical residue.
- Change the water when it gets dirty.
Rinse until the water remains clear. A clear final rinse means all chemicals are gone.
Ensuring Complete Dryness To Prevent Ice Formation
The floor must be completely dry to prevent ice buildup. Follow these simple drying tips:
- Use clean mop heads or squeegees to remove excess water.
- Switch on fans to aid in the drying process.
- Dry in sections to ensure no spot is missed.
Check for any wet areas. Touch the floor to confirm dryness. Even a small wet spot can turn into dangerous ice. Keep the freezer door open while drying if the outside humidity is low.
Reassembling And Restarting The Freezer
After thoroughly cleaning your walk-in freezer’s floor, reassembly and restart are crucial final steps. They ensure that your freezer returns to optimal operation without jeopardizing food safety. These phases should be meticulous and well-organized to prevent any potential issues.
Carefully Replacing Shelving And Inventory
Begin by inspecting shelves for any signs of damage or wear. Replace them one at a time, securing each firmly in place. Remember to clean the shelving before restocking. This step is vital to maintain the cleanliness you’ve achieved with the floor.
- Inspect each shelf for damage.
- Clean each shelf before replacing it.
- Restock items in an organized manner.
Gradually Reintroducing Power And Monitoring Temperature
Powering up your freezer must be done gradually and carefully. A sudden influx of power could affect its components. Turn the power on and wait for the freezer to reach its desired temperature.
- Flip the power switch to the ‘On’ position.
- Monitor the temperature every 15 minutes for the first hour.
- Ensure the temperature stabilizes within the safe range.
Check the thermometer frequently. This will ensure that your freezer resumes its function of keeping your items frozen at the correct temperature.
Insert a table if necessary for detailed steps or guidelines
Regular Maintenance And Tips
Regular Maintenance and Tips for your walk-in freezer not only ensure hygiene but also extend its life. By keeping a clean floor, the risk of accidents and contamination drops significantly. Let’s dive into strategies for maintaining a squeaky-clean surface.
Maintaining A Regular Cleaning Schedule
- Set a Routine: Mark your calendar for weekly cleaning sessions to prevent heavy build-up.
- Train Staff: Ensure every team member knows the cleaning procedures and safety measures.
- Use the Right Tools: Equip yourself with mops, brooms, and safe cleaning solutions for cold environments.
- Document Cleanings: Keep a record to track cleaning frequency and thoroughness.
By adhering to a strict schedule, your walk-in freezer floor remains spotless, supporting a safe working space.
Tips For Preventing Future Build-up And Contamination
Prevention is key to a hassle-free freezer floor.
| Tip | Action |
|---|---|
| Immediate Spills Clean-up | Address spills right away to avoid icy patches. |
| Dry Before Freezing | Ensure the floor is dry before restoring low temperatures. |
| Regular Checks | Inspect for ice or debris daily and remove promptly. |
| Proper Storage | Use sealed containers to contain spills and crumbs. |
Integrating these practices will foster a clean, safe, and efficient walk-in freezer environment.
Frequently Asked Questions For How To Clean Floor Of Walk In Freezer
What Is The Best Way To Clean A Walk-in Freezer Floor?
Turn off the freezer to let ice melt; sweep away debris. Clean with a mixture of warm water and mild detergent. Rinse with clean water, and dry thoroughly to prevent ice build-up. Regular cleaning maintains hygiene and prevents slips.
How Do You Clean The Bottom Of A Deep Freezer?
Unplug the freezer and remove all items. Defrost it by letting ice melt, then use a mixture of warm water and baking soda to scrub the bottom. Rinse with a cloth dipped in clean water, and dry the area thoroughly before turning the freezer back on and restocking.
Can You Mop A Walk-in Fridge?
Yes, you can mop a walk-in fridge, but ensure it’s done with non-abrasive cleaners and dry the floor thoroughly to prevent slips.
How Do You Clean A Commercial Walk-in Refrigerator?
To clean a commercial walk-in refrigerator, first empty its contents. Turn off and unplug the unit. Use soapy water to scrub all surfaces, rinse well, and dry. Sanitize with an approved cleaner, and allow to air dry before restocking items.
Conclusion
Maintaining a clean walk-in freezer is crucial for food safety and efficiency. Arm yourself with the right tools and follow the steps outlined to ensure a spotless, hygienic environment. Regular cleaning keeps your freezer running smoothly and your products fresh.
Start now, and make it part of your routine!