
To clean a stained sink, first, identify the stain type and choose an appropriate non-abrasive cleaner. Apply the cleaner, scrub gently, then rinse thoroughly.
Stained sinks can undermine the clean and inviting look of your kitchen or bathroom. Removing tough stains may seem daunting, but with the right approach, you can quickly restore your sink’s original luster.
Understanding the composition of your sink is essential, as different materials require specific cleaning methods to avoid damage.
Whether you’re tackling stains from hard water, food, rust, or general grime, the key is to use a cleaning solution suited to both the stain and the sink material.
Regular maintenance combined with the right cleaning techniques helps to keep your sink stain-free and hygienic. Remember, gentle scrubbing with a non-abrasive cleaner and cloth can effectively remove most stains without scratching the sink’s surface.
Introduction To Sink Cleaning
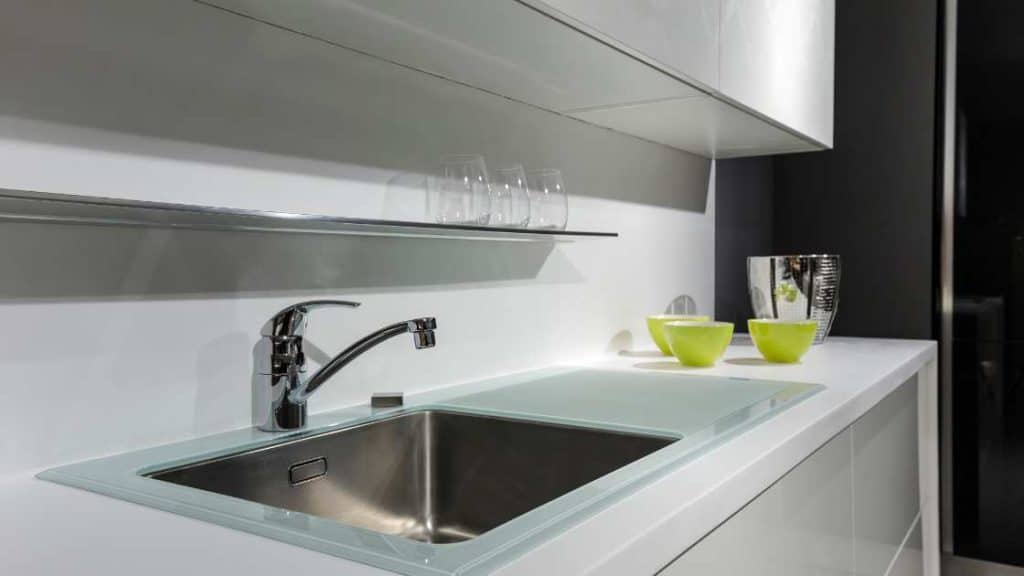
Clean sinks shine like gems in a kitchen or bathroom. But stains and grime can hide their glow. Learning how to clean a stained sink brings back that sparkle. It’s not just about beauty.
A clean sink is safe and welcoming. In this guide, explore sink materials and the best ways to deal with common stains.
Sink Materials And Common Stains
Sinks come in different materials. Each one has unique cleaning needs.
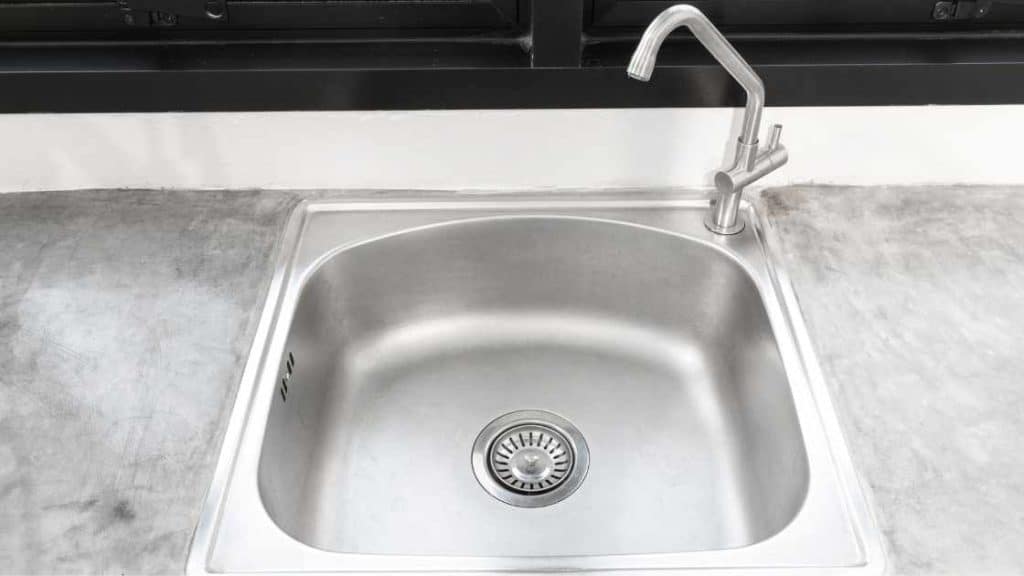
- Stainless steel resists rust but can show water spots and finger marks.
- Porcelain is classic yet can catch stains from coffee, tea, and food.
- Composite blends durability with a modern look but can harbor grime.
Stains vary too. Water sediments, food spills, and rust create unique challenges. Identify your sink’s material and the stain type for the right cleaning approach.
The Importance Of Regular Sink Maintenance
A well-maintained sink prevents build-up. It keeps sinks hygienic and functioning. Regular cleaning avoids hard-to-remove stains.
It saves time and keeps your sink looking new. Use gentle cleaning habits and proper tools. Your sink will thank you.
Preparation For Cleaning
Tackling a stained sink begins with the right approach.
Prepare your tools and supplies. Safety comes first. Follow these steps for a shiny, clean sink.

Gathering Necessary Cleaning Supplies
Start with the essentials:
- Non-abrasive scrubbing pads – they effectively remove stains.
- Baking soda – a natural cleaning agent.
- Vinegar – to break down tough spots.
- Lemon – for a fresh scent and extra shine.
- Mild dish soap – cleans without damage.
- Old toothbrush – reaches into nooks.
- Rubber gloves – to protect your hands.
- Microfiber cloth – for a streak-free finish.
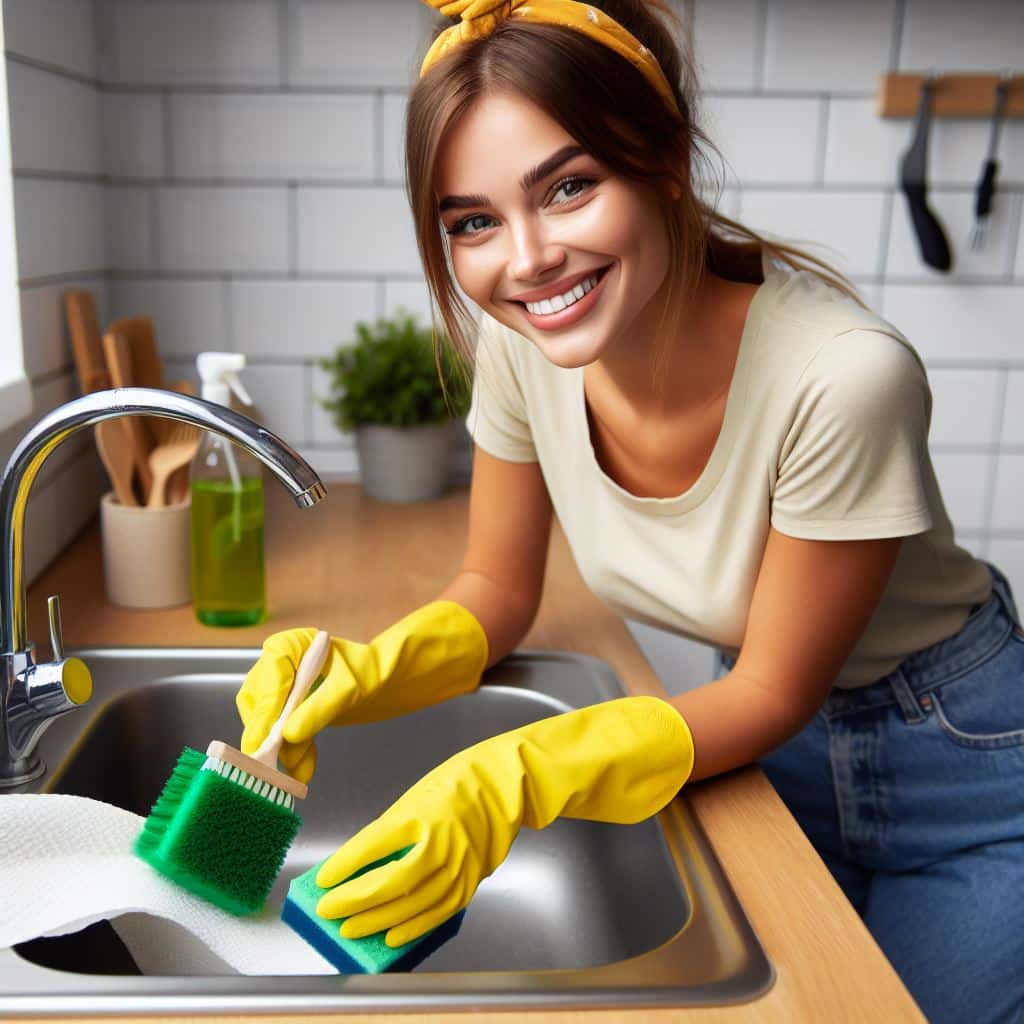
Safety Tips Before Starting The Cleaning Process
Stay safe with these guidelines:
- Wear rubber gloves to protect your skin.
- Ensure good ventilation – open windows.
- Never mix chemicals. It can create dangerous gases.
- Keep a clean water source nearby for rinsing.
- Store supplies safely away after cleaning.
Assessing The Stain
Sinks are the workhorses of your kitchen and bathroom. They face everything from tomato sauce spills to toothpaste splatters. Before grabbing a sponge, stop. Bold look at what you’re dealing with. This is the first step to a spotless sink.
Identifying Types Of Stains
Different stains need different approaches. Let’s learn their types:
- Water Spots: Common and easy to deal with.
- Rust Stains: Orangey marks, tougher to tackle.
- Food and Beverage Stains: Often bright, can be stubborn.
- Scratches and Scuffs: These are physical marks.
Determining The Appropriate Cleaning Method
Now, match the stain to the cleaning method. Use the right cleaner:
| Type of Stain | Suggested Cleaner |
|---|---|
| Water Spots | Vinegar |
| Rust Stains | Lemon juice and salt |
| Food and Beverage Stains | Baking soda and water paste |
| Scratches and Scuffs | Pumice stone (gently) |
Note: Always test cleaners on a small area first. Go slow and gentle. Prevention is better than cure.
Natural Cleaning Solutions
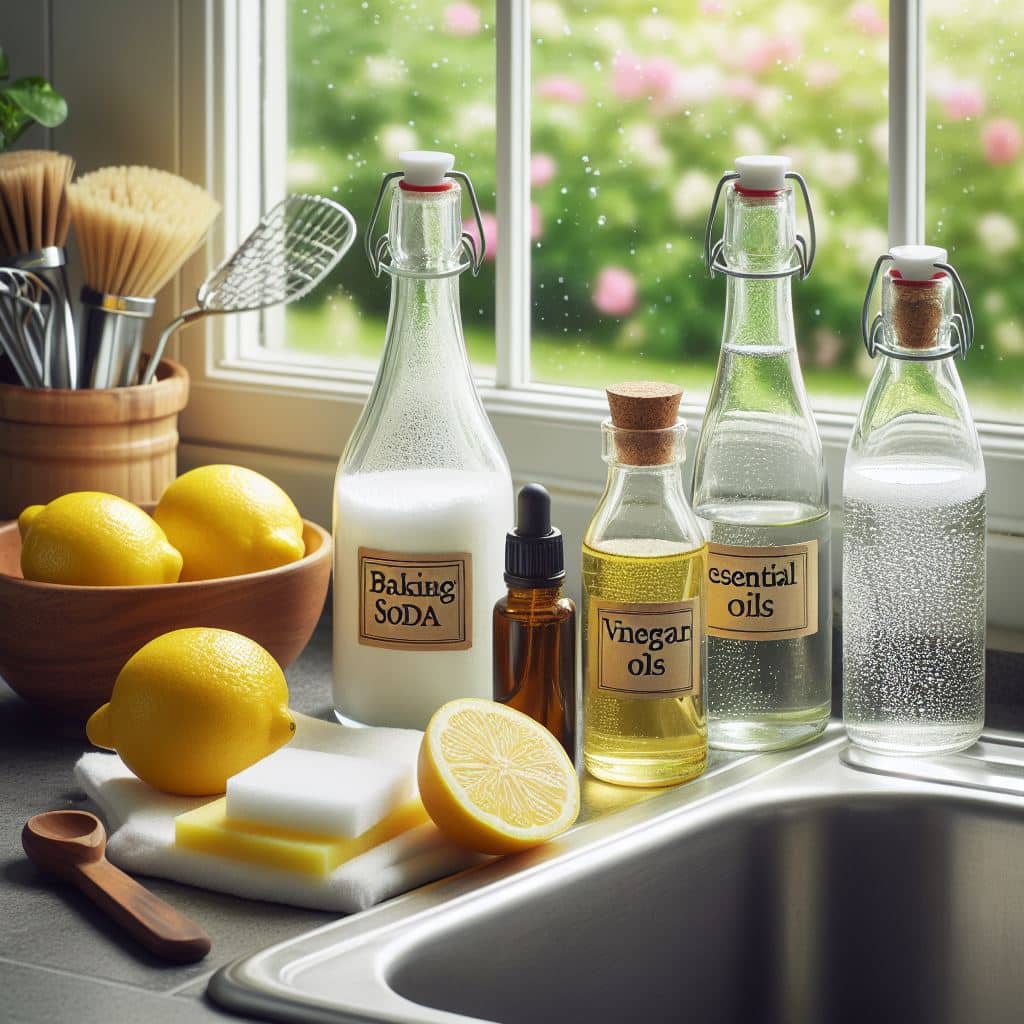
Forget harsh chemicals! Natural ingredients can work wonders on stained sinks. They’re safe, eco-friendly, and likely in your pantry now. Let’s explore some easy, yet powerful, natural cleaning methods.
Using Baking Soda And Vinegar
Baking soda and vinegar offer a one-two punch against tough stains. This duo fizzes away grime without a trace. Here’s a simple guide:
- Sprinkle baking soda on the sink surface.
- Pour white vinegar over it.
- Watch as it fizzes and breaks down stains.
- After five minutes, scrub gently with a sponge.
- Rinse with water for a shiny finish.
The Power Of Lemon And Salt For Rust Stains
Rust on your sink can seem stubborn. Yet, salt and lemon juice can lift it off easily. Follow these steps:
- Sprinkle salt on the rusted area.
- Squeeze lemon juice over the salt.
- Let it sit for a few hours, or overnight for best results.
- Scrub the area with the lemon rind or a brush.
- Rinse with water, and admire the rust-free shine.
Chemical Cleaners And Their Uses
Refreshing a stained sink transforms the look of a kitchen or bathroom. Chemical cleaners can make this task easier. They are designed to tackle tough stains and bring back the shine. Ready to discover which ones to use and how?
Commercial Sink Cleaners
Commercial sink cleaners pack a punch. They target stains like rust, hard water deposits, and everyday grime. Popular choices include:
- Oxalic acid-based cleaners for rust removal
- Chlorine bleach for disinfecting and whitening
- Alkaline cleaners for tough grease
Simply apply these cleaners following the product instructions, wait for the magic to happen, and rinse.
Safety Considerations When Using Chemicals
Safety first! Here’s what you need to remember:
- Always wear gloves to protect your skin.
- Keep the room well-ventilated, avoiding strong fumes.
- Never mix chemicals. This can create dangerous reactions.
Read labels for first aid information in case of accidents.
Step-by-step Cleaning Process
A sink stained with food, grime, or rust marks can ruin the look of your kitchen or bathroom. But fear not! With the right approach, you can get your sink shining like new. Follow this simple, yet effective step-by-step cleaning process to tackle those stubborn stains.
Removing Surface Debris

Before diving into deep cleaning, remove any items from the sink. Sweep away loose debris, food particles, or residue with a damp cloth or sponge. Your goal is to have a clear surface for a more thorough cleanse.
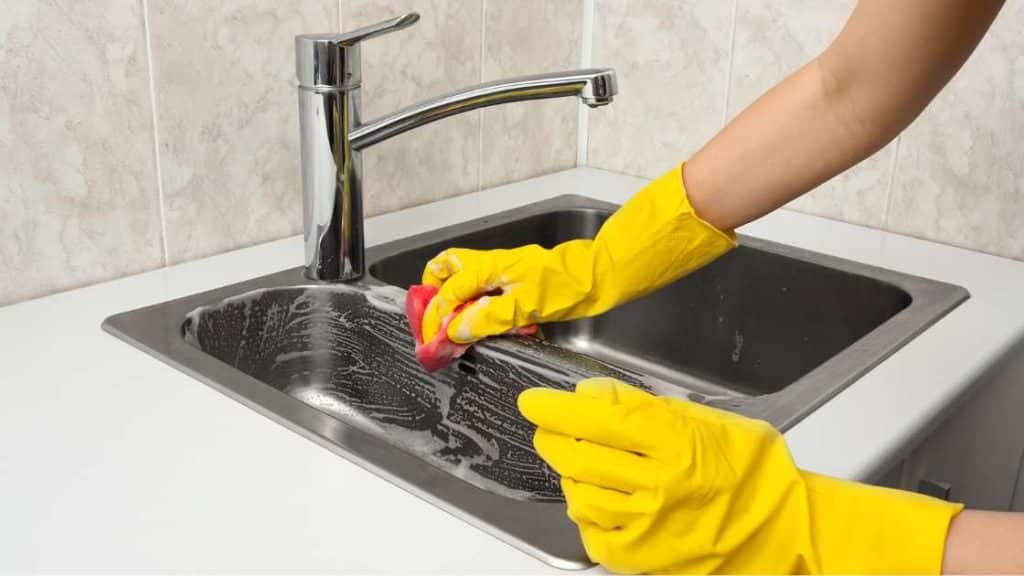
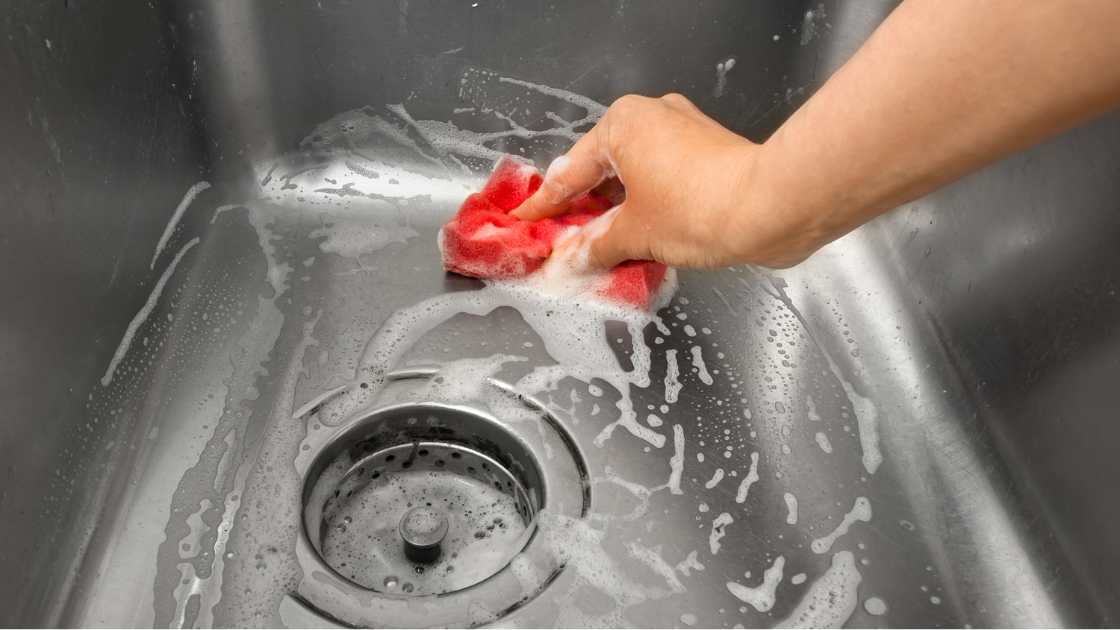
Applying Cleansers And Scrubbing Techniques
Choose the right cleanser for your sink type—be it stainless steel, porcelain, or ceramic. Apply the cleanser evenly across the stained areas. Let the product sit for a few minutes to break down the stains.
Use a non-abrasive scrubber or brush to gently scrub the stains in a circular motion. Rinse thoroughly with warm water. Repeat if necessary until the stains are gone.
Tough Stains And Deep Cleaning
Sinks are workhorses of the kitchen and bathroom. They often accumulate tough stains. These could be from food, personal care products, or mineral build-up.
Regular cleaning methods might not always work. That’s when deep cleaning comes into play. Here’s how to tackle those stubborn spots.
Dealing With Persistent Stains
Baking soda and vinegar can be a dynamic duo for persistent stains. Sprinkle baking soda on the stain first. Then, drizzle with vinegar. The mixture will fizz. Let it sit for five minutes. Scrub with a soft brush. Rinse away the cleaning solution.
Hydrogen peroxide and cream of tartar work well too. Make a paste. Apply it directly on the stain. Let this sit for ten minutes. Scrub with a non-abrasive sponge. Then, rinse off the paste completely.
Lemon and salt are good for lighter-colored sinks. Sprinkle salt on the stain. Squeeze lemon juice on top. Let the mix sit for a few hours. Rinse. Repeat if needed.
For rust stains, use equal parts of lemon juice and borax. Make a paste. Apply to the stain. Wait one hour. Then, rinse.
Remember to avoid using abrasives on delicate surfaces. It can scratch and cause more harm.
When to Consider a Professional Cleaner
When To Consider A Professional Cleaner
Not all stains are easy to remove. You might need a stronger approach. Professional cleaners have special tools. They also know techniques that can help.
Look for a professional if you’ve tried everything. And still see no improvement. Or if your sink is made of sensitive materials like marble.
Signs you need a pro:
- Stains remain after multiple treatments.
- There is damage to the sink’s surface.
- Odors persist even after cleaning.
A professional cleaner can save time and protect your investment. Ensure to hire someone with good reviews and the right experience.
Rinsing And Post-cleaning Care
Cleaning a stained sink is just part of the job; rinsing and post-cleaning care seal the deal. This stage ensures that your sink not only looks clean but also stays that way longer. Let’s walk through the proper finishing touches for a sparkling sink.
Proper Rinsing To Avoid Leftover Residue
Rinse well to keep your sink looking its best. Follow these steps:
- Start with hot water to dissolve cleaning agents.
- Use a soft sponge or cloth to wipe down the sink.
- Remove all suds as they can leave water spots.
- Ensure that no product remains since residue can attract more stains.
Give your sink a final swish with clean water to catch any missed spots.
Drying And Buffing The Sink
Drying is vital for a spotless finish. Grab these items for the best results:
- Use a microfiber cloth for drying.
- Buff in circular motions to add shine.
- Pay extra attention to the faucet and handles.
Remember, regular care keeps your sink bright and clean!
Preventative Measures For Future Stains
Keeping your sink spotless is no small feat, especially when stubborn stains seem to appear out of nowhere. But with the right preventative measures, you can maintain that gleaming look for longer.
Let’s dive into some tips and strategies to keep those pesky stains at bay.
Daily Maintenance Tips
Routine care keeps stains away. Here are quick daily actions to help:
- Wipe the sink after each use to remove water spots and prevent buildup.
- Rinse well after pouring anything besides water down the drain.
- Soft soaps are your friends, as harsh chemicals can harm the sink’s surface.
- Use a gentle scrubber for daily cleaning to avoid scratches.
Long-term Protection Strategies
For a stain-free future, embrace these long-term protection habits:
| Strategy | Benefit |
|---|---|
| Apply protective coatings | Shields against future stains |
| Use sink liners for dishes | Prevents direct contact with sink surface |
| Regular deep cleaning session | Keeps accumulated stains in check |
| Avoid leaving acidic foods | Protects from etching and discoloration |
Additional Sink Maintenance Advice
Cleaning a stained sink is essential for kitchen hygiene. This section will offer a summary of effective methods and additional tips for sink maintenance. Keep your sink sparkling with these insights.
Recap Of Effective Cleaning Methods
- Baking soda paste: Apply, scrub gently, and rinse.
- Vinegar solution: Spray on stains, wait, and wipe off.
- Lemon juice: Great for dealing with rust stains.
- Commercial cleaners: Follow label instructions closely.
Further Recommendations And Common Mistakes To Avoid
For ongoing sink maintenance:
- Regularly wipe down to prevent buildup.
- Soft sponges are best to avoid scratches.
- Use protectors to guard against heavy pots.
Avoid these common errors:
| Mistake | Correction |
|---|---|
| Using harsh scrubbers | Opt for softer cleaning tools. |
| Leaving cleaners on too long | Adhere to recommended soak times. |
| Ignoring the manufacturer’s advice | Always check product guidelines. |
Regular care prevents stains and maintains shine. Avoid abrasive materials that can damage your sink. Stick to the right products for material-specific maintenance. Happy cleaning!
Frequently Asked Questions For How To Clean A Stained Sink
What Causes Sink Stains?
Stain formation in sinks is often due to prolonged exposure to minerals in the water, food residue, or harsh chemicals. Regular cleaning can prevent these unsightly marks.
How Can I Remove Tough Sink Stains?
For tough stains, create a paste of baking soda and vinegar. Apply the paste to the stain, allow it to sit for a few minutes, then scrub gently with a non-abrasive sponge and rinse thoroughly.
Are Natural Cleaners Effective For Sinks?
Yes, natural cleaners like baking soda, vinegar, and lemon juice are effective and eco-friendly options for removing sink stains without the need for harsh chemicals.
What Should I Avoid Cleaning My Sink With?
Avoid using abrasive materials like steel wool and harsh chemicals like bleach as they can scratch or damage the sink’s surface. Gentle, non-abrasive cleaners are recommended.
How do you clean a badly stained sink?
To clean a badly stained sink, start by sprinkling baking soda over the surface and then scrubbing with a soft brush or sponge. Follow this by pouring white vinegar over the baking soda, allowing it to fizz and react before scrubbing again, and finally, rinse thoroughly with water for a refreshed and stain-free sink.
Does baking soda clean sink stains?
Yes, baking soda is effective in cleaning sink stains
Conclusion
Wrapping up, and tackling sink stains doesn’t have to be daunting. With the right supplies and a bit of elbow grease, your sink can gleam again. Remember, regular maintenance is key to preventing tough stains. So, roll up your sleeves and transform your sink—it’s simpler than it seems!