
Garbage Disposal Leaking from Bottom often signals a failed seal or internal issue that needs immediate attention. Failing to address the problem can lead to further damage to both your garbage disposal and your home.
Garbage disposals offer convenience by grinding food waste and flushing it down the drain, but over time, the process of breaking down food scraps wears on the unit’s internal components.
If you notice water leaking from the bottom of your garbage disposal, it’s a serious issue compared to leaks from other areas of the unit. A garbage disposal leak from the bottom usually indicates worn-out seals or damaged internal parts.
Handling this issue promptly not only prevents a mess but also avoids the high cost of water damage. Regular maintenance and repairs can extend the life of your kitchen disposal and help avoid leaks.
Identifying The Leak Source
If you discover your garbage disposal is leaking from the bottom, it’s important to find the source of the leak. Knowing where to look and what to check is the first step in diagnosing the issue.
A precise diagnosis is crucial for fixing the problem correctly. Here are some visual inspection tips to help you pinpoint the problem area and common leak points to assess.
Visual Inspection Tips
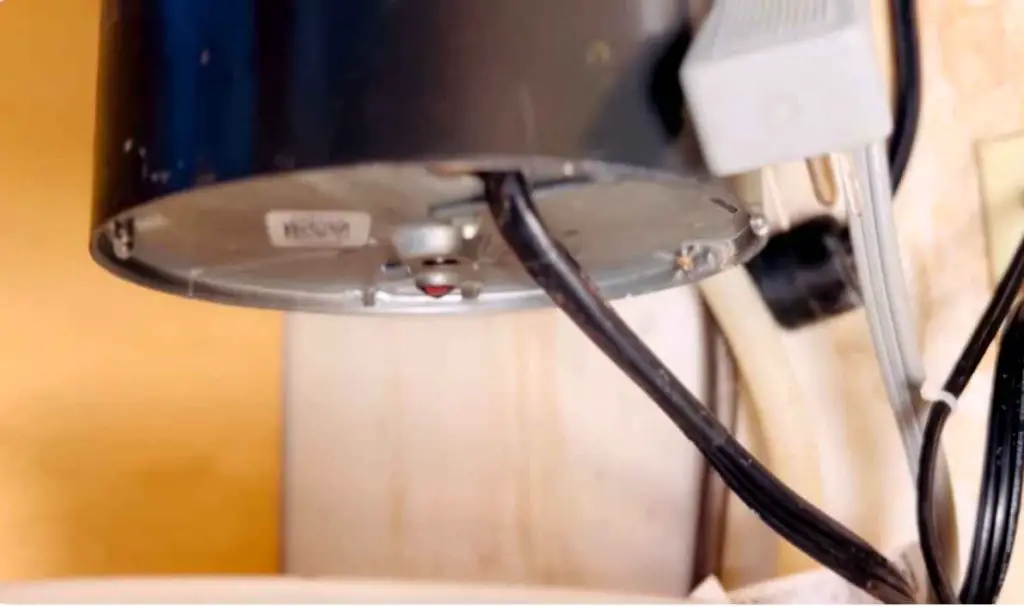
Begin with a flashlight and dry hands, ensuring safety by turning off the disposal. Water trails can indicate where the leak is coming from.
Check around and under the unit for wet spots, as gravity and disposal operation may cause water to collect away from the actual leak.
- Wipe the disposal bottom and check for the reappearance of water.
- Use colored water to trace the leak’s path.
- Inspect during disposal run to see real-time leaking.
Common Leak Points To Check
A garbage disposal might leak from several spots. Some leaks are simple fixes, while others require more attention. Here’s a checklist of common leak areas:
| Leak Point | Details |
|---|---|
| Sink Flange | Connecting point between sink and disposal. Check for loosened bolts or worn-out plumber’s putty. |
| Dishwasher Connection | If connected to a dishwasher, inspect the hose and clamps. |
| Disposal Unit | Cracks in the disposal body itself might be the culprit. |
| Pipes and Joints | Examine the drain pipe leading away from the disposal; seal degradation might be responsible for leaks. |
Remember, finding water at the bottom doesn’t always mean the disposal unit is leaking. Seals or connections might be the issue. Tallying symptoms with common points aids in a faster resolution.
Tools And Materials Needed
Repairing a garbage disposal leak can be difficult without the proper tools. Having the right tools ready before starting any DIY repair will save time and reduce frustration.
Gather all essential tools and materials for a smoother fix when dealing with a garbage disposal leaking from the bottom.
Essential Tools For DIY Repair
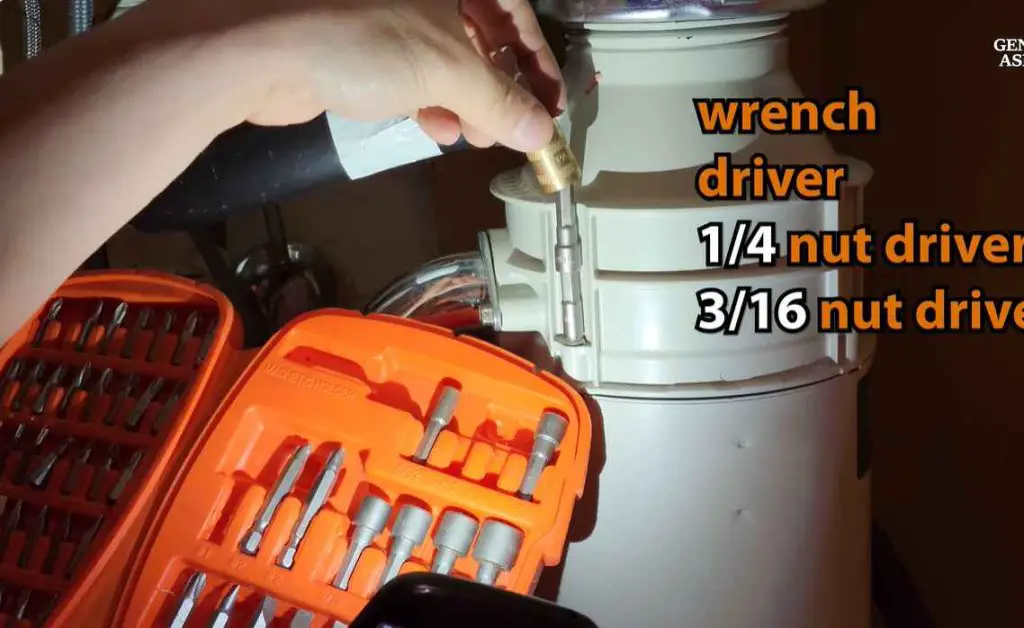
To address a leak from the bottom of your garbage disposal, you need specific tools. Begin with these:
- Adjustable wrench – Tightens and loosens connections.
- Pipe wrench – Assists with larger fittings.
- Screwdrivers – Various sizes to fit screws on the unit.
- Plumber’s putty – Seals joints, preventing future leaks.
- Plumber’s tape – Provides extra seal on threaded connections.
- Bucket – Catches water during disassembly.
- Rags or Towels – Cleans spills and drips.
- Flashlight – Illuminates the work area.
Safety Gear And Precautions
Safety ensures a hazard-free repair process. Always wear the following protective gear:
- Gloves – Protects hands from sharp edges and waste.
- Goggles – Shields eyes from splashes and debris.
Always:
- Disconnect power before starting repairs.
- Never put your hands inside the disposal unit.
- Keep tools and parts organized to avoid accidents.
Shutting Off Power And Water
Discovering your garbage disposal is leaking from the bottom can be stressful. To ensure safety, the first step is to turn off both power and water before attempting any repair.
This precaution helps prevent additional damage to the appliance and avoids water hazards while you investigate the leak.
Steps To Disconnect Power
To ensure a safe repair environment, power to the garbage disposal needs cutting.
- Locate your kitchen’s electrical circuit box.
- Find the switch labeled for the disposal or kitchen outlets.
- Flip the switch to the ‘Off’ position.
For added safety, unplug the disposal unit from the power outlet under the sink.
Turning Off the Water Safely
With power disconnected, the next step involves shutting off the water supply. This move prevents further leakage during repair.
- Under the sink, locate two valves.
- These valves control hot and cold water.
- Turn both valves clockwise until they stop.
This action halts water flow to the sink, paving the way for a leak-free repair session.
Diy Fixes For Common Problems
A garbage disposal leaking from the bottom may seem daunting, but before calling a plumber, try these simple DIY fixes. They could resolve the issue without professional help.
Tightening Loose Connections
Leaks often come from loose connections. The solution could be as simple as a quick tightening. What you will need:
- Channel-lock pliers
- A flashlight
- A bucket (to catch any drips)
Steps to follow:
- Turn off the disposal at the electrical supply.
- Place the bucket under the disposal.
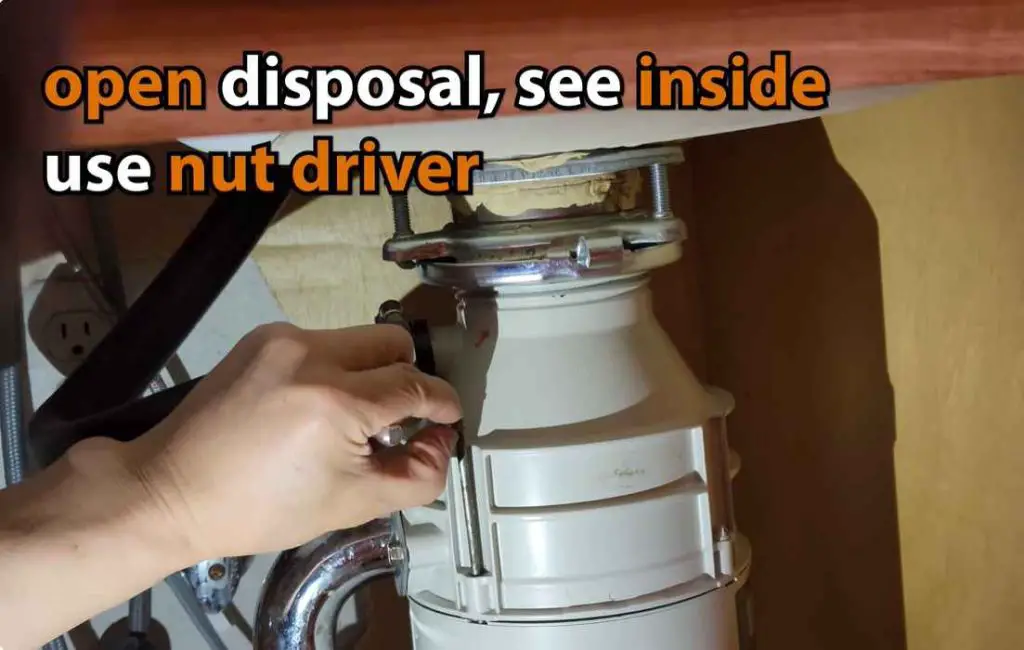
- Use the flashlight to locate the loose connection.
- Adjust the pliers to fit the connection.
- Turn the fitting clockwise until tight.
- Check for leaks by running water.
Replacing Worn-out Gaskets Or Seals
A bad gasket or seal can cause leaking. Replace them with these steps. Gather these tools first:
- A new gasket or seal
- Screwdrivers
- Plumber’s putty
Follow these instructions:
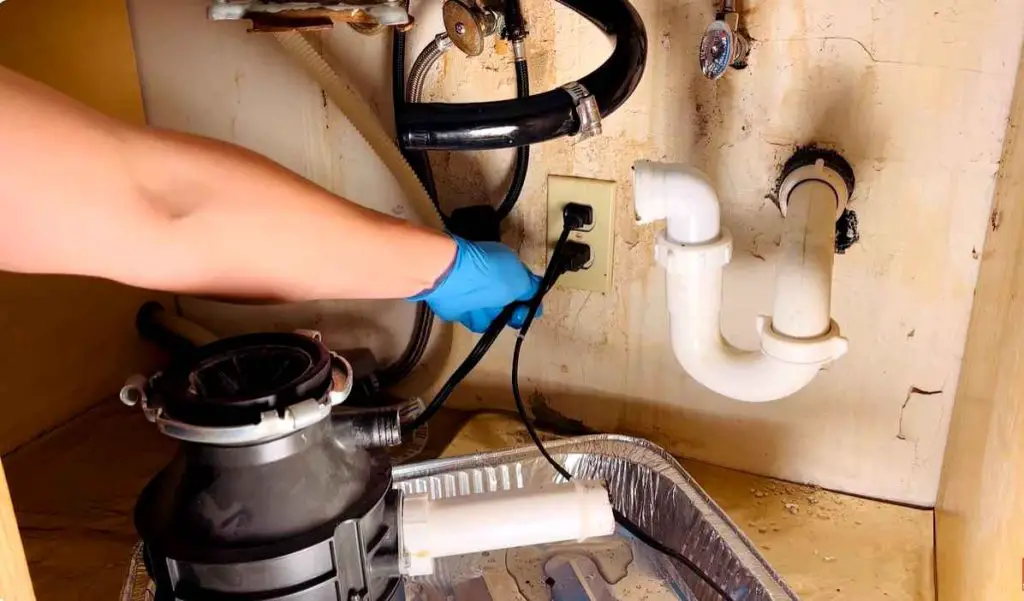
- Disconnect the disposal from power.
- Remove the disposal from the sink.
- Take off the old gasket or seal.
- Place the new one in the same spot.
- Reconnect the disposal to the sink.
- Apply the plumber’s putty if needed.
- Reconnect to power and test for leaks.
When To Call A Professional
If your garbage disposal is leaking from the bottom and DIY fixes aren’t successful, it might be time to call a professional plumber. Understanding the seriousness of the problem will save you from more costly repairs down the road.
Expert intervention can prevent a small leak from turning into a larger issue, ensuring both safety and long-term functionality.
Limitations Of Diy Approaches
DIY remedies can be a good start for minor issues. Yet, knowledge and expertise have their boundaries. Without proper tools and experience:
- Diagnostic errors can occur.
- Warranty terms might be voided.
- There’s a risk of improper repairs leading to further damage.
Leaks from the bottom often suggest seal failures or cracks in the housing, and complex repairs are usually out of the DIY scope. Recognize these limitations to avoid water damage and costly mistakes.
Finding A Reputable Plumber
Selecting the right professional is crucial for a lasting solution. Ensure a smooth selection:
- Seek referrals from friends or online reviews.
- Verify the plumber’s license and insurance.
- Ask for an upfront estimate to avoid hidden costs.
Trust a plumber with garbage disposal expertise for a precise, timely fix. They can address the root cause, replace your unit if necessary, and guide you on proper maintenance.
Preventive Measures And Maintenance
No one enjoys dealing with a leaky garbage disposal. To prevent future problems, adopting simple preventive measures and regular maintenance can save time and money.
Maintenance not only addresses current issues but also helps prevent leaks from occurring in the first place. Follow these steps to keep your garbage disposal in good working order.
Regular Cleaning Recommendations
A clean garbage disposal is crucial to avoid leaks. After every use, flush it with cold water for a minute to keep it functioning properly.
For weekly maintenance, use a mixture of vinegar and baking soda to deodorize and clean the unit. Ice and salt also work well to scrub the blades and grinding chamber without harsh chemicals.
Long-term Care Tips
Even with regular maintenance, garbage disposals can wear down over time. Regularly check for rust and erosion, which can lead to leaks.
Replace rubber seals and gaskets as needed to ensure the disposal remains leak-free. Additionally, sharpening the blades by running ice cubes through the disposal helps keep it in top condition.
This routine reduces the strain on the motor and can prolong the life of your unit.
| Task | Frequency |
|---|---|
| Cold water flush | After each use |
| Vinegar & baking soda cleaning | Weekly |
| Ice & salt scrubbing | Monthly |
| Inspection for rust and erosion | Every six months |
| Replace seals and gaskets | As needed |
Stick to these simple steps, and you’ll avoid the inconvenience and cost of a leaking garbage disposal.
Remember, regular upkeep not only prevents leaks but also ensures your disposal runs smoothly for years to come.
Frequently Asked Questions For Garbage Disposal Leaking From Bottom
Why Is My Garbage Disposal Leaking Water From The Bottom?
Your garbage disposal may leak water from the bottom due to a worn-out seal or a crack in the unit. Regular wear and tear or damage can cause these issues, necessitating repair or replacement.
Can I Run the Dishwasher If the Garbage Disposal Is Leaking From the Bottom?
Running a dishwasher with a leaking garbage disposal is not recommended. Fix the leak before using the dishwasher to prevent water damage and electrical issues.
How Do You Seal A Leaking Garbage Disposal?
To seal a leaking garbage disposal, first disconnect the power. Identify the leak source – typically the sink flange, dishwasher connection, or drain pipe. Reapply the plumber’s putty around the sink flange or replace the gaskets for other connections. Tighten all mounting bolts and clamps, then test for leaks.
Can You Replace The Bottom Seal On A Garbage Disposal?
Yes, you can replace the bottom seal on a garbage disposal by purchasing a new seal and following the manufacturer’s instructions for installation. Make sure to disconnect the power before attempting repairs.
Conclusion
Dealing with a garbage disposal that’s leaking from the bottom can be frustrating. Fortunately, addressing common issues can be straightforward. Routine maintenance and timely repairs extend your unit’s life and efficiency. Remember, expert assistance is just a call away for those tricky leaks.
Keep your disposal in peak condition and enjoy a cleaner, hassle-free kitchen.