
To send a door without removing it, protect the floor with a drop cloth and use a handheld sander or sanding block. Ensure proper ventilation and wear a dust mask for safety.
Sanding a door while it is still on its hinges can be a straightforward task if approached correctly. How to Sand a Door Without Taking It Off By staying mindful of dust and protecting the surrounding area, you can effectively smooth the door’s surface for a fresh coat of paint or varnish.
This process requires minimal tools and preparation, offering a quick solution for door maintenance without the added labor of door removal. It’s an efficient technique suitable for DIY enthusiasts and homeowners keen on preserving the integrity of their living space while giving their doors a refreshed look.
Introduction To Door Sanding
Door sanding revives your door’s look without the need for a full replacement. Whether you’re preparing to paint, stain, or simply restore the door’s original beauty, a smooth, well-sanded door is the canvas for a perfect finish.
Regular maintenance now can reduce more work later. Learn how to make your door look new, with simple tools and no removal necessary.
The Importance Of Door Sanding
Sanding forms the foundation for any door refinishing project. With proper sanding, doors last longer and look better. It removes scratches, dents, and old paint, preventing wood decay and termite attacks.
It creates a smooth surface for an even coat of new paint or stain. This process is essential for both appearance and longevity.
The Convenience Of Sanding A Door Without Removing It
Sanding a door without detaching it saves time and effort. There’s no need for complex tools or excessive manpower. It can be done quickly and efficiently in its place.
With the right technique, you can avoid the hassle of door re-alignment post-sanding. Follow these easy steps to ensure a professional outcome.
Assessing The Door’s Condition
Before diving into the art of sanding a door in place, a careful assessment ensures efficient work. The state of the door sets the stage for the best restoration approach. Here’s how to begin this key step.
Identifying The Type Of Door Material
Door materials can differ vastly. Many kinds dictate how you move forward. Common materials include wood, metal, and fiberglass. Each requires unique sanding techniques.
- Wooden doors: Check for type and grain pattern.
- Metal doors: Look for rust or paint layers.
- Fiberglass doors: Inspect for cracks and integrity.
Evaluating The Level Of Damage Or Wear
The second step involves checking the door’s current state. This means looking for any scratches, dents, or areas where paint has peeled off. Small damage means light sanding. Deep gouges may require more work.
| Damage Type | Assessment Action |
|---|---|
| Scratches | Check depth with a fingernail. |
| Dents | Evaluate if the wood filler is needed. |
| Peeling Paint | Observe if complete stripping is required. |
By closely examining the door’s material and wear, you set up for a successful sanding job. Keep these assessments in mind, and you’ll be on track for a beautifully restored door without removing it from its hinges.
Preparation For Sanding
Starting a door sanding project means preparation is key. A well-prepared door ensures a smooth finish. Understand the right steps to avoid removing the door from its hinges. Follow these guidelines for a hassle-free sanding experience.
Cleaning The Door Surface
Begin with a clean slate. Dust and grime affect sanding quality. Ensure your door is free from dirt for the best results. Here’s how to clean it:
- Wipe down the door with a damp cloth.
- Use mild detergent for stubborn marks.
- Dry the surface with a towel.
Gathering The Necessary Sanding Tools And Materials
Having the right tools at hand makes the task smoother. Collect these items before you begin:
| Tool/Material | Use |
|---|---|
| Sandpaper (Various grits) | For the main sanding job |
| Sanding block | To hold sandpaper and ease the process |
| Tack cloth | To remove dust after sanding |
| Protective gear (mask, goggles) | For safety |
Protecting The Area Around The Door
Before you dig into the task of sanding your door to a smooth finish, it’s essential to shield the surrounding area.
Protecting the area around the door prevents damage and keeps clean-up to a minimum. Let’s cover how you can safeguard your space effectively.
Covering The Floor And Door Frame
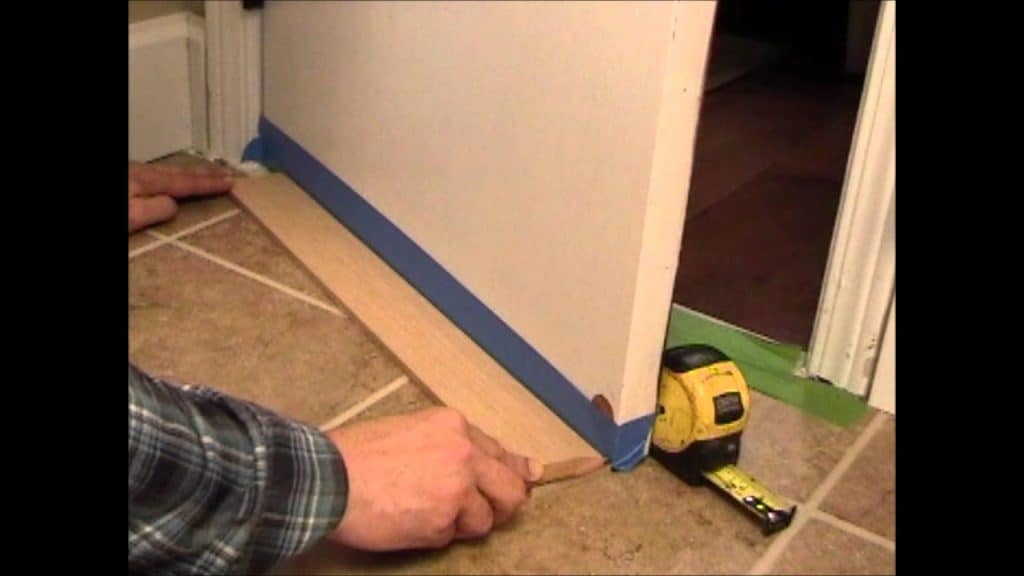
Begin by laying down a durable drop cloth or plastic sheeting. Choose a size that extends beyond the door’s edges. Secure the covering with painter’s tape to keep it from shifting while you work.
For the door frame, stick painter’s tape along the edges. The tape shields the door frame from sanding debris and potential scuffs.
- Measure your workspace. This ensures the covering spans the entire area.
- Opt for a non-slip cover. Safety is key when working with tools.
- Use a tape that’s easy to remove to avoid residue on the floor or frame.
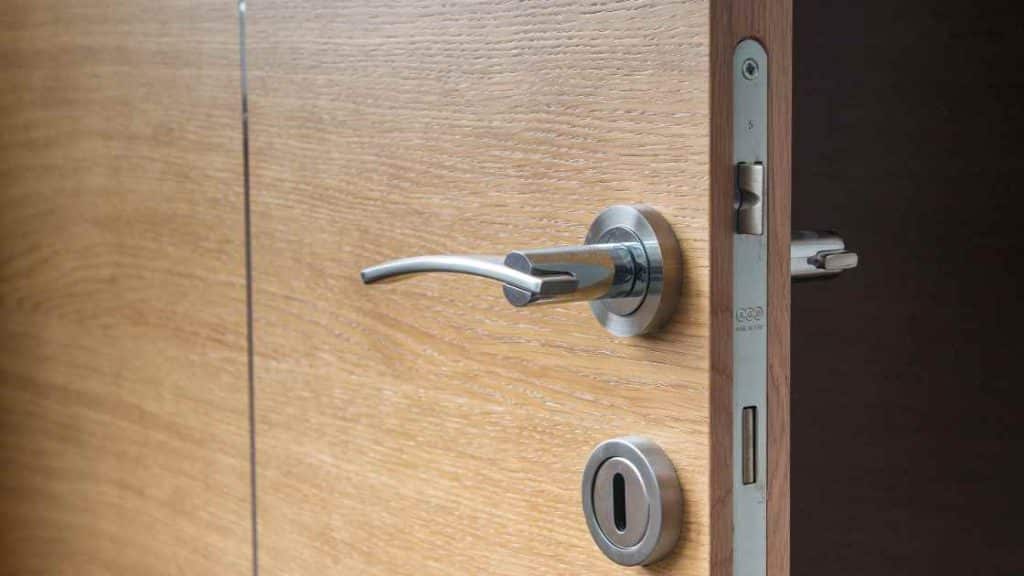
Masking Hardware And Glass Elements
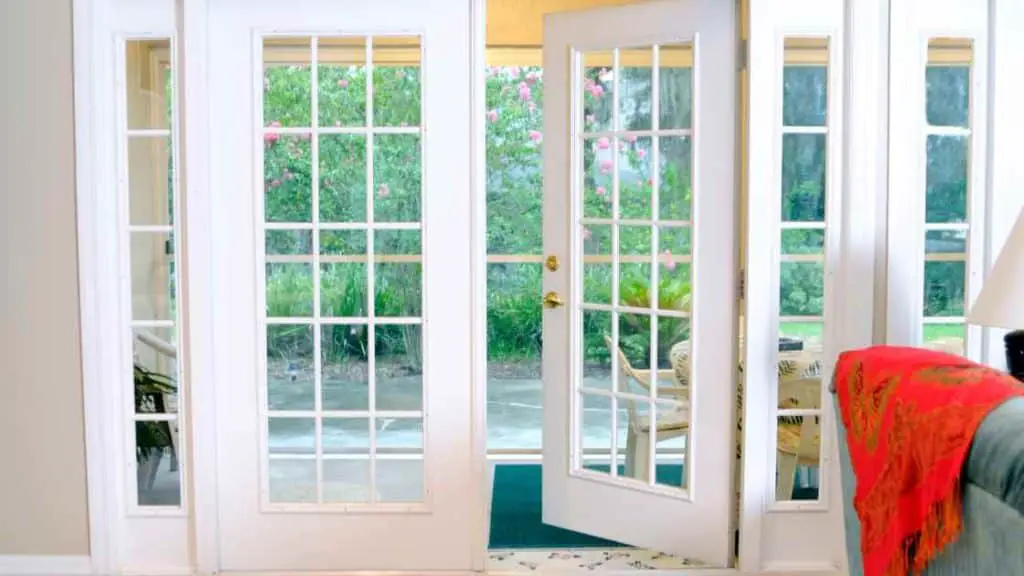
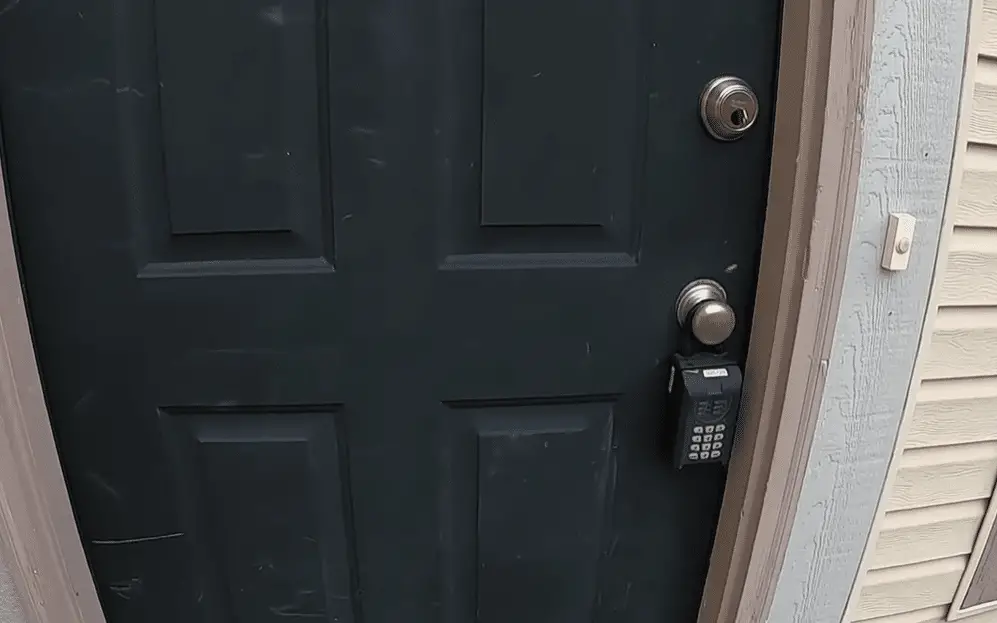
Focus on the door’s hardware next. Wrap doorknobs, hinges, and locks with painter’s tape. Cover any glass inserts with protective film or newspaper, securing it with tape.
| Element | Material | Instruction |
|---|---|---|
| Doorknobs | Painter’s tape | Wrap completely |
| Hinges | Painter’s tape | Cover entirely |
| Locks | Painter’s tape | Encase securely |
| Glass | Protective film/Newspaper | Apply and tape |
Assess your door beforehand for any unique features that might need protection. Ensure all protective materials stick well and provide full coverage before you commence sanding.
Choosing The Right Sanding Technique
Refreshing a door’s look requires a smooth finish. The right sanding technique is key. It can be tricky to decide between using your muscles or a machine to ease your work.
Here, we dive into manual versus power sanding and selecting the perfect sandpaper grit for your door.
Comparing Manual Sanding Vs. Power Sanding
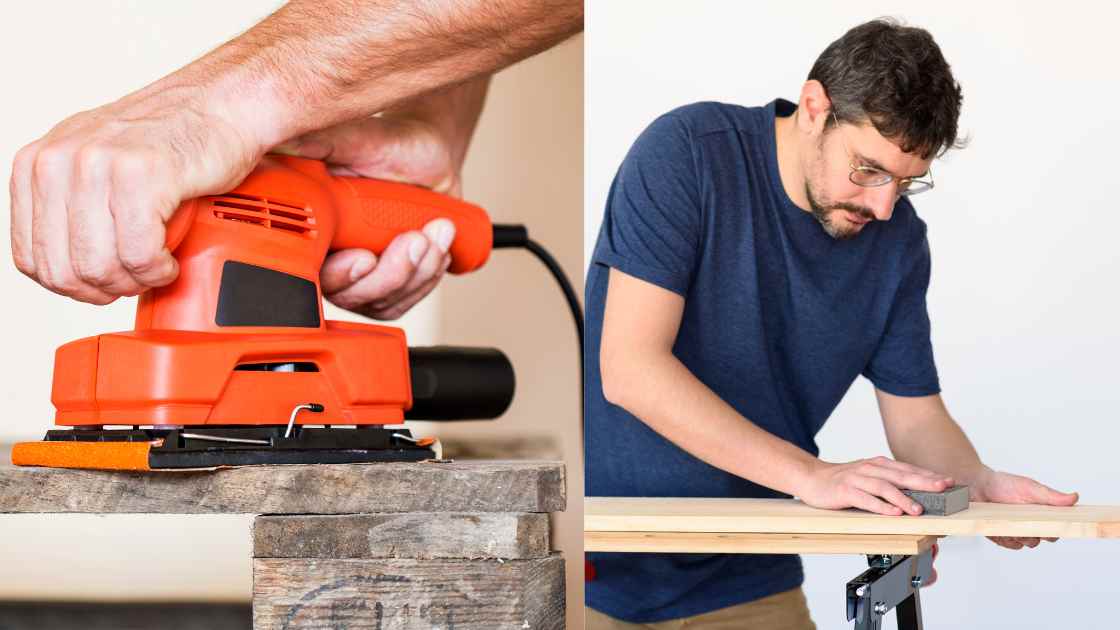
Both methods come with pros and cons. Manual sanding offers control but demands more effort. Power sanding saves time but could remove too much material. Consider the following:
- Surface size: Small areas? Go manual. Large doors? A power sander might be best.
- Detail work: Intricate designs call for a careful hand-sanding approach.
- Physical effort: If strength is a concern, choose a power sander.
Selecting The Appropriate Sandpaper Grit
Getting the right grit is vital for a smooth finish. Sandpaper grit ranges from coarse to very fine. Use this guide:
| Grit Size | Use Case |
|---|---|
| Coarse (40-60) | Removing old paint or varnish |
| Medium (80-120) | Smoothing out rough surfaces |
| Fine (150-180) | Preparing for final finishing |
| Very Fine (220+) | Final sanding before painting or staining |
Start with a coarser grit and move to a finer one. Check the surface in between to avoid over-sanding.
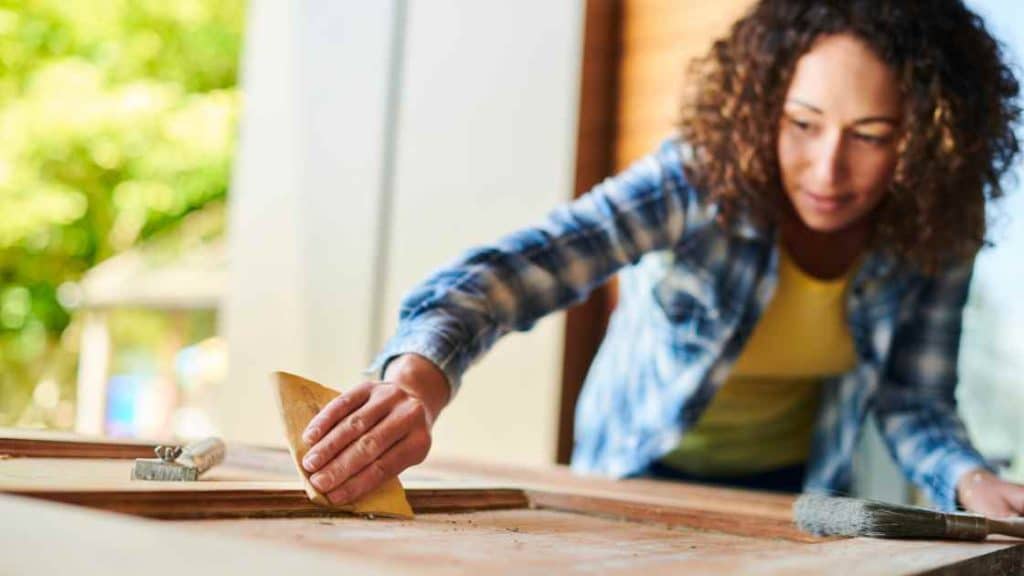
Sanding The Door Surface
Refreshing your door’s look? No need to remove it from its hinges! Sanding the door while it’s still hanging is a straightforward task. With the right tools and technique, you can give your door a new lease on life right where it stands. Let’s start with the process to achieve a smooth, quality finish.
Executing The Initial Rough Sanding
The first step is to prepare the surface. Grab a medium-grit sandpaper, such as 80 or 100 grit. Firmly affix it to a hand sander. This will make the whole sanding process easier and faster. Remember to wear a mask to avoid inhaling dust.
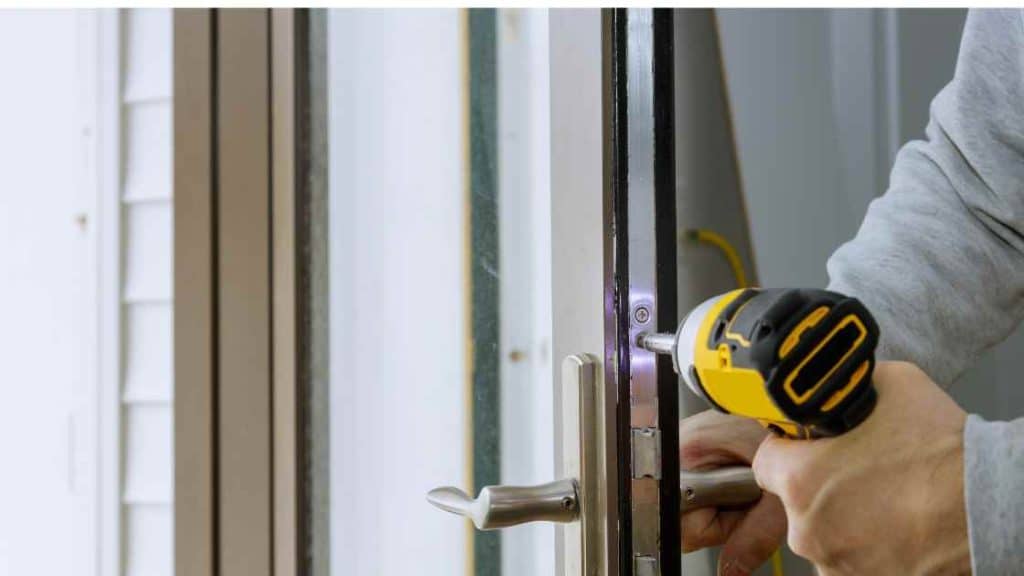
- Remove all hardware. This includes handles, locks, and hinges.
- Clean the door surface. Wipe away dirt and grease.
- Start sanding. Work on the flat areas in circular motions.
- Reach the edges. Edge tools help to sand near the corners.
- Check the progress. Try touching to feel for any rough patches.
Progressing To Finer Sanding For A Smooth Finish
After the rough pass, it’s time for the finer sanding. Switch to a higher grit sandpaper like 150 or 220. This will smooth out the surface, removing scratches and imperfections.
- Attach finer sandpaper. Place it securely on the sander.
- Sand the door again. Follow the grain of the wood.
- Keep the pressure even. Avoid pressing too hard.
- Wipe the surface. A tack cloth will pick up the dust.
- Inspect your work. The door should feel smooth to the touch.
Tip: After completing the fine sanding, you may want to treat the door with a sealant or paint. Ensure the perfect finish by applying it according to the manufacturer’s instructions.
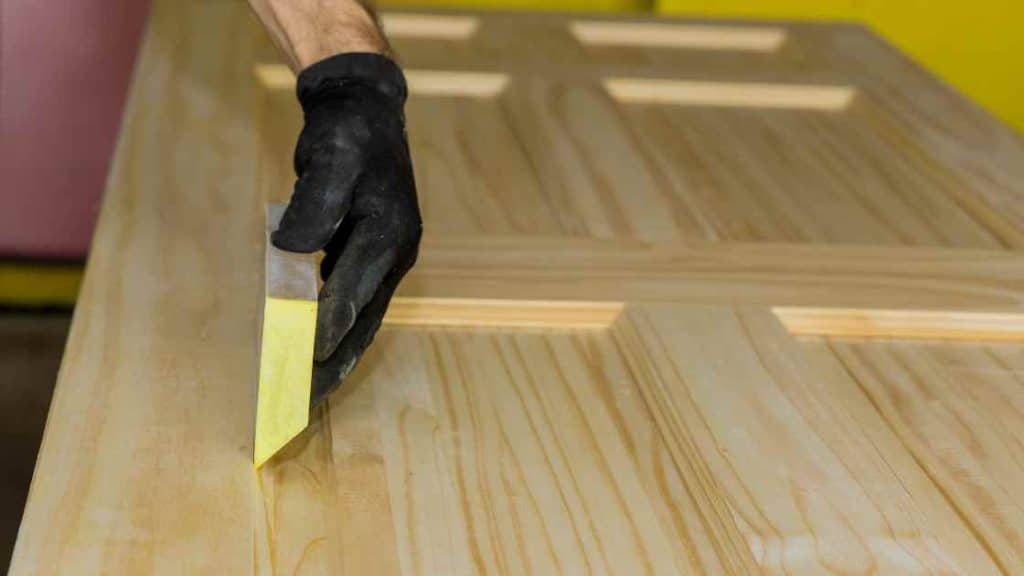
Smoothing The Edges And Detail Work
When you set out to sand your door while it’s still on the hinges, special attention to the edges and intricate areas ensures a professionally smooth finish.
Remember, patience and the right technique will make your door look brand new without the hassle of removing it.
Handling Corners And Crevices
Door corners and crevices can be tricky to sand, but they’re essential for a seamless look. To handle these, you’ll need the following tools:
- Fine-grit sandpaper or a sanding sponge
- Small sanding block for stability
Wrap the sandpaper around the block and work gently into the corners. The sanding sponge is perfect for molding and bevels. It’s flexible and conforms to the shape you’re working on.
Ensuring Evenness Around Door Handles And Locks
Door handles and locks often have uneven surfaces due to paint build-up or wear and tear. To achieve a smooth finish:
- Remove the door handle and lock, or tape around them if removal is not an option.
- Use a flexible sanding sponge to gently abrade around the fixtures.
- Check for evenness by feeling with your hands and looking for visual cues.
- Work in light, circular motions to avoid grooves or scratches.
Sanding properly around these areas prevents future issues with the door’s functionality and improves the overall aesthetics.
Dealing With Dust And Residue
Sanding a door rejuvenates its look without a complete overhaul. Dealing with the resulting dust and residue is a must to keep your space clean. Ready to tackle the dust without the hassle of removing the door? Here’s how to get a flawless finish and a tidy space.
Effective Dust Removal Techniques
Quick and efficient dust management is key while sanding a door in place. Follow these steps for a smooth and clean process:
- Use a handheld vacuum with a brush attachment to sweep up dust as it accumulates.
- Regularly wipe down the surface with a damp cloth to capture fine particles.
- Dust sheets or plastic coverings can trap debris and are easy to clean afterward.
- Adhesive mats at the doorway catch dust from your shoes as you exit and enter the room.
- Consider a sanding block with an attached vacuum to contain dust at the source.
Precautions For A Clean Working Environment
Maintain a dust-free area for health and convenience. A clean workspace ensures a better finish. Here are some ways to keep the mess at bay:
- Seal the room as best as possible to prevent dust from spreading.
- Wear protective gear like masks and goggles to safeguard against dust inhalation and irritation.
- Place a fan in the window to ventilate the area and direct dust particles outside.
- Clean up as you go; the less dust that settles, the easier it is to maintain a tidy space.
- Finish by mopping the floor to pick up any remaining residue from the project.
Inspecting The Sanded Door
After sanding a door while it’s still on its hinges, the next essential step is inspection. This ensures the door is smooth and ready for finishing. A thorough inspection helps avoid future issues with paint or stain adherence.
Checking For Uniformity And Smoothness
Run your hands over the door’s surface to feel for uniformity. Use your eyes to look for visual cues of smoothness under bright light. Marks or scratches mean more sanding is needed. Follow these steps:
- Use fine-grit sandpaper for a final pass.
- Glide your hand across all areas, especially edges and profiles.
- Inspect under direct light to check that no scratches remain.
Addressing Any Missed Spots Or Imperfections
Incomplete sanding can lead to finish failures. Keep an eye out for:
| Imperfection | Action Required |
|---|---|
| Missed Spots | Retouch with appropriate sandpaper grit. |
| Dents or Gouges | Fill with wood filler, then sand when dry. |
| Raised Grain | Sand lightly until the surface feels smooth. |
Once addressed, dust off the door and prepare for the next step in your renovation project.
Final Steps And Touch-ups
Now that the sanding is nearly done, it’s essential to refine the door’s surface. These final touches ensure a professional and smooth finish. Attention to detail transforms good work into great results. Let’s dive into the last steps of this DIY venture.
Applying Wood Filler If Necessary
Wooden doors may have scratches or holes. Wood filler can fix these. Here’s how:
- Select a filler that matches your door’s wood.
- Apply the filler with a putty knife to the imperfections.
- Smooth it out and let it dry as per product instructions.
With the wood filler set, the surface looks even. It’s like giving your door a new life. But the job’s not done yet.
Re-sanding Treated Areas For Consistency
After filling, you need to re-sand the treated areas. This blends the repairs with the door. Follow these steps:
- Choose a fine-grit sandpaper for this step.
- Gently sand over the filler until it’s flush with the door surface.
- Wipe away dust with a clean cloth to check smoothness.
Re-sanding makes the door’s surface consistent. It prepares the door for staining or painting. A uniform surface ensures the best finish. Your door is now ready for the final beautification steps!
Sealing And Protecting The Door
Sanding a door refreshes its look. Sealing and protecting the wood ensures your work lasts. This vital step prevents moisture damage and wear. Here’s how to get the best results.
Choosing The Right Sealant Or Primer
First, select a sealant or primer. This layer shields the wood after sanding. Consider the following:
- Door location: Indoor or outdoor?
- Wood type: Softwood or hardwood?
- Desired finish: Gloss, matte, or satin?
| Sealant Type | Characteristics | Best Use |
|---|---|---|
| Water-based polyurethane | Low odor, quick drying | Indoor doors |
| Oil-based polyurethane | Durable, rich finish | Outdoor doors |
| Sanding sealer | Easy to sand, fast preparation | Both, as a base coat |
Applying Finish For Durability And Aesthetics
Applying the finish boosts durability. It also adds visual appeal. Follow these steps:
- Clean the door: Remove all dust.
- Apply the sealant: Use a brush or roller.
- Let it dry: Wait as per product instructions.
- Sand lightly: Between coats for a smooth finish.
- Apply additional coats: Usually 2-3 for best protection.
Remember: Always wear protective gear, like gloves and masks. Work in a well-ventilated area. Choose a dry day for the best sealant application.
The Benefits Of Diy Door Sanding
Sanding a door without removing it may seem daunting. But with the right tools and techniques, it’s a feasible DIY project. This process not only improves the appearance of your door but also provides valuable skills and knowledge for future woodworking projects. Let’s dip into the key benefits.
Cost-effectiveness And Satisfaction Of Self-accomplishment
Choosing to sand your door comes with significant cost savings. Professional services can be expensive. By taking on this task, you save money on labor costs.
Beyond the cost aspect, DIY craftsmanship leads to pride in your work. Completing the job successfully instills a sense of achievement and confidence.
- Save money on professional sanding services.
- Learn valuable skills for future DIY woodworking tasks.
- Own the results with a job well done.
Maintenance Tips To Prolong The Door’s Life Post-sanding
Post-sanding, your door’s longevity hinges on proper maintenance. Here are easy but essential steps to keep your door in top shape:
- Apply a fresh coat of paint or sealant to protect the wood.
- Regularly inspect the door for signs of wear and treat promptly.
- Avoid harsh chemicals that can damage the wood’s integrity.
Maintain the door’s hinges and knobs with appropriate lubricants. This will ensure smooth operation and reduce wear. With these tips, your door will remain durable and beautiful for years to come.
Frequently Asked Questions For How To Sand A Door Without Taking It Off
Can You Sand A Door While It’s Still Hung?
Yes, you can sand a door without removing it from its hinges. By carefully working around the edges and using the right sandpaper, you can effectively sand the door while it remains in place.
What Equipment Is Needed To Sand A Door?
To send a door in place, you’ll need fine-grit sandpaper, a sanding block or an orbital sander, and a dust mask. Optional items include painter’s tape, to protect hardware, and a drop cloth to catch debris.
How Do You Prevent Dust When Sanding A Door?
Minimize dust by using a sanding block with an attached dust collection or covering the work area with a drop cloth. Additionally, wet sanding techniques can reduce airborne particles.
What’s The Best Technique For Sanding A Door?
The best technique involves gentle, circular motions with fine-grit sandpaper. Work systematically across the surface to ensure an even finish. Always sand in the direction of the wood grain.
Can you refinish a door without removing it?
Yes, you can refinish a door without removing it by thoroughly cleaning its surface, sanding away imperfections, applying a primer, and then adding a fresh coat of paint or stain. It’s essential to take precautions to protect surrounding areas from potential drips or splatters during the refinishing process.
How do you sand a door quickly?
To send a door quickly, use a power sander with coarse grit sandpaper to remove the existing finish efficiently, followed by a finer grit for a smooth surface. Be sure to sand along the wood grain to avoid scratches and achieve a professional finish.
Conclusion
Sanding a door in place is a handy skill that saves time and effort. With the right tools and techniques, you can achieve a smooth, professional finish. Remember, patience is key to great results—take it step by step. For your next project, confidently tackle door sanding without removal, knowing you have the know-how for a flawless outcome.