How to Remove Shiny Patches from a Painted Wall: Gently sand the area using fine-grit sandpaper, then repaint it. This method smooths out the surface and removes the glossiness. Ensure you apply the paint evenly to blend the area with the rest of the wall.
Dealing with shiny patches on painted walls can be frustrating, but it’s a common issue many homeowners encounter. Whether the cause is cleaning, over-polishing, or normal wear, these unsightly glossy spots can ruin the uniform look of your wall. With careful preparation and attention to detail, you can fix these spots, restoring the matte or satin finish of your wall.
By using a step-by-step approach—starting with gentle sanding and followed by repainting—you’ll be able to remove the sheen and bring back the wall’s original finish. Not only does this method solve the immediate problem, but it also ensures the longevity and durability of your wall’s appearance.

Introduction To Shiny Patches On Painted Walls
Shiny patches on walls can be a real eyesore, disrupting the uniformity of your paint job. Whether they come from touching the wall, over-cleaning, or wear over time, these glossy spots stand out against matte or satin finishes. Tackling these patches helps maintain the aesthetic and integrity of your painted surfaces.
Understanding The Causes Of Shiny Patches
Why do certain areas on your wall outshine others? It’s not random. Different factors contribute to this inconsistency:
- Uneven Coats: Applying uneven layers of paint can lead to shiny spots.
- Repairs: Filled holes or smoothed cracks can appear glossier once painted.
- Cleaning: Aggressive scrubbing removes the matte finish, leaving a shine.
- Quality of Paint: Low-quality or mismatched sheens result in patchy walls.
The Implications Of Ignoring Shiny Patches On Wall Aesthetics
Letting these patches stay could mean more than just a visual distraction:
| Issue | Effect on Aesthetics |
|---|---|
| Differential Aging | Glossy areas could age differently, leading to a patchy look over time. |
| Highlight Flaws | Shiny spots can draw attention to imperfections. |
| Inconsistent Sheen | An uneven sheen disrupts the wall’s uniformity. |
| Reduced Home Value | Potential buyers might see this as a sign of neglect. |
Identifying and fixing shiny patches ensures your home remains as appealing as intended.
Preparation For Removing Shiny Patches
Proper preparation is key to effectively removing shiny patches. By following a careful process, you’ll ensure the repair is seamless. In this section, we’ll guide you through the steps needed to get your walls ready for treatment, ensuring safety and efficiency.
Safety Measures And Protective Gear
Before starting, prioritize safety. Use the right protective gear to shield yourself from potential hazards.
- Gloves to protect your hands
- Eye goggles for eye safety
- Dust mask or respirator to avoid inhaling particles
- Keep a first-aid kit nearby
Gathering The Right Tools And Materials
Equip yourself with proper tools and materials for a smooth repair process. Here’s what you need:
| Tools | Materials |
|---|---|
| Sanding sponge or fine-grit sandpaper | Joint compound or spackle |
| Putty knife | Primer |
| Paintbrush or roller | Paint same as the wall color |
| Clean cloth | Water or mild cleaning solution |
| Tack cloth |
Assessment And Identification Of Shiny Patches
Before diving into repair, it’s essential to identify where the shiny patches are and what’s causing them. Shiny spots on painted walls often reflect light differently or feel smoother than the rest of the surface. Using a flashlight to highlight reflective areas can help pinpoint the problematic spots.
How To Spot Different Types Of Shiny Patches
There are various types of shiny patches. Some are caused by oils or dirt, while others are due to uneven paint application. Start with a visual inspection, looking for any areas where light reflects more intensely. Once identified, you can determine the best approach for fixing them.
- Glossy streaks – Often from roller or brush strokes.
- Shiny spots – Caused by oils, grease, or patching compounds.
- Mottled areas – Possibly from inconsistent paint mixing or application.
Note: Wear-and-tear can also cause shiny areas. Normal cleaning can wear down matt paint.
Determining The Extent Of The Affected Area
To fix shiny patches, understand the wall’s affected area:
- Turn off lights and close curtains to see the true extent.
- Carefully check corners and edges; they’re often missed.
- Use a piece of chalk to lightly mark the shiny areas.
Measure the shiny patches with a tape measure. Record sizes and locations. This step ensures you treat the entire area and not just visible spots.
Tip: A small notebook can help keep track of the findings.

Cleaning Techniques Before Removal
Before removing shiny spots on painted walls, it’s crucial to clean the surface. Dirt and grime may interfere with the sanding and repainting process. Use a mild cleaner to wipe down the wall, ensuring it’s clean and free of dust. This step allows the repairs to adhere properly.
The Importance Of A Clean Working Surface
A clean surface is essential when fixing shiny patches. It ensures the new paint sticks well and results in a smoother finish. Cleaning also helps remove any hidden grime that could lead to further issues, giving you a professional-looking result.
Methods For Cleaning Walls Prior To Fixing Shiny Patches
Start with the basics: gentle soap, warm water, and a soft sponge. Check out these steps—easy as pie!
- Dust off: Jump-start the process by whisking away cobwebs and dust with a duster or a clean, dry cloth.
- Mix it up: Stir together some mild soap and warm water—you don’t need a potion, just a simple mix will do.
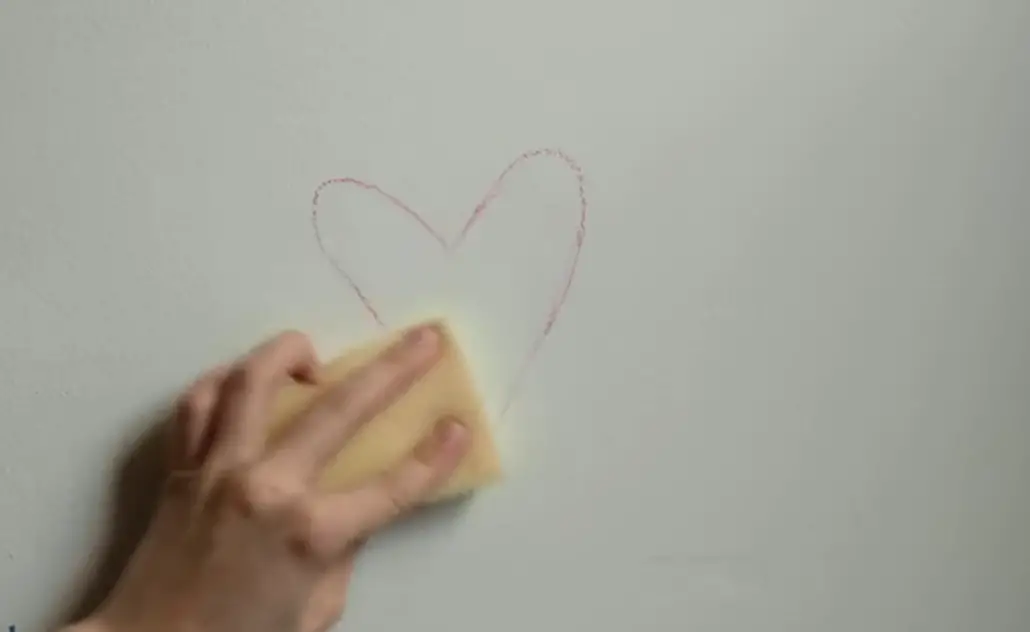
- Gentle touch: Dunk your sponge in the soapy water and squeeze. Gently scrub your walls in a circular motion. Be a friend to the paint!
- Rinse right: Grab a clean sponge, dunk it in clean water, and go over the wall again to remove any soapy tales.
- Dry dance: Wipe the wall with a soft, dry towel. It’s like a dance, but for drying. And voilà, a clean canvas!
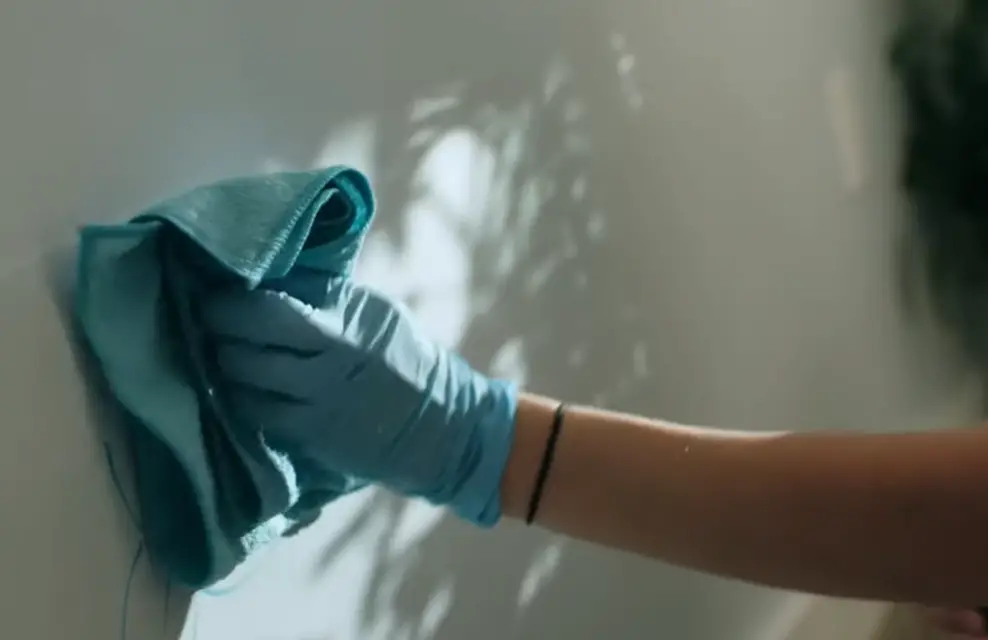
Want to avoid water? Microfiber cloths are your pals. They kick dust and dirt out without a drop of water.
Stubborn stains? No worries! Mix baking soda and water to form a paste. Apply it to the stain, let it sit, then wipe and rinse. Remember, be gentle—walls have feelings too.
Methods To Remove Shiny Patches
Different methods work depending on the type of shiny patches you’re dealing with. Here are some practical ways to fix the issue:
- Gentle Sanding: Use fine-grit sandpaper to gently sand down the glossy spots. This removes the sheen and smooths the surface.
- Repainting: After sanding, repaint the area. Choose a matching paint to blend the patch with the rest of the wall.
- Matte Finish Application: For additional sheen removal, apply a matte finish coat to further dull any remaining gloss.
Sanding Technique For Flattening The Surface
Sanding is a go-to method for dealing with shiny wall patches. It’s about gently leveling the paint. Here’s what you need for a good sand:
- Fine-grit sandpaper
- Sanding block or pad
- Dust mask for safety
- Tack cloth or damp rag
Start with the sandpaper on the block. Rub it over the shiny area in a circular motion. Keep it light and even. You don’t want to scratch the wall. When the sheen starts to fade, wipe the dust with the cloth. Remember, gentle is the game!
Other Techniques For Reducing Sheen Differences
If sanding isn’t your thing, we’ve got alternatives. Check them out:
- Clean with vinegar: A mix of water and vinegar does wonders. It dulls the shine.
- Touch-up with matte paint: Sometimes, repainting with a non-glossy paint is best.
- Use a glaze: A clear glaze over the shiny spot can even things out.
Remember, testing these methods on a small area first is key. It ensures no surprises. These methods are your toolkit for a wall that speaks volumes about your attention to detail.

Post-removal Processes
Once you’ve removed the shiny patches, take the following steps to ensure your wall looks uniform and maintains its fresh look.
Priming And Repainting For A Uniform Appearance
After sanding, apply a primer before repainting to help the new paint adhere better and blend with the rest of the wall. Using two coats of paint ensures a smooth and even finish. Make sure each coat is completely dry before applying the next one.
Wall Care After Treatment To Prevent Recurrence
To prevent shiny spots from reappearing, avoid scrubbing the walls with harsh chemicals or abrasive materials. Regularly dust the walls and maintain a consistent humidity level to prevent moisture buildup, which can cause paint problems.
Prevention Strategies For Future Projects
Preventing shiny patches starts with using the right paint and applying it properly. Satin and matte paints are less likely to show shine than glossy ones. Also, proper wall maintenance—such as avoiding over-cleaning—can reduce the chance of shiny spots on matte paint.
Choosing The Right Paint And Application Techniques
Selecting the proper paint is the first step to prevent shiny patches. Flat or matte finishes tend to hide imperfections better than glossier options. Here’s a table to help you choose:
| Type of Finish | Best Use | Shiny Patch Resistance |
|---|---|---|
| Flat/Matte | Ceilings, low-traffic areas | High |
| Eggshell | Living rooms, bedrooms | Medium |
| Semi-gloss | Kitchens, bathrooms | Low |
For application, use a roller with an even pressure and a brush for cutting in corners. Always apply paint with a uniform thickness to avoid uneven sheen. Let’s look at some techniques:
- Cross-rolling (rolling in a crisscross pattern) for even coverage.
- Using a wet edge to blend freshly painted areas with existing dry paint.
- Avoiding excessive rolling or brushing which may cause shiny spots.
Routine Wall Maintenance Tips To Avoid Shiny Patches
Regular maintenance ensures longevity and sustained appearance. Follow these simple tips:
- Dust walls gently with a soft cloth or duster to keep the surface clean.
- Address spills or marks immediately with mild soapy water and a soft sponge.
- Avoid harsh cleaning chemicals or abrasive tools.
Aside from these, consider controlling room humidity. Excessive moisture can lead to differential drying, which may cause shiny spots. Use a dehumidifier if necessary. For areas of frequent touch, like around switches and door handles, a small touch-up now and then can preserve an even matte finish.
Frequently Asked Questions On How To Remove Shiny Patches From A Painted Wall
What Are The Shiny Spots On Painted Walls?
Shiny spots on painted walls are often called “flashing” or “picture framing. ” They occur when areas of higher sheen stand out, possibly due to uneven application, overworking the paint, or repairs. Use uniform strokes to prevent these inconsistencies.
Why Do I Have Shiny Patches Where I Touch Up Paint On My Walls?
Shiny patches appear on touch-up painted walls due to differences in sheen between the original and new paint, often caused by varying paint textures or amounts applied.
How Do You Remove Shiny Paint From Walls?
To remove shiny paint from walls, sand the surface gently with fine-grit sandpaper. Wipe the dust away with a damp cloth, then apply a suitable primer before repainting.
How Do You Reduce Sheen On Painted Walls?
To reduce sheen on painted walls, lightly sand the surface with fine-grit sandpaper. Then, apply a coat of flat or matte finish paint. Ensure the area is clean and dust-free before painting.
Conclusion
Restoring your painted walls to their former glory is simpler than you might think. With the right approach, those unattractive shiny patches can vanish. Remember: gentle cleaning, touch-up painting, and consistent sheen are your allies. Give your walls the care they deserve and enjoy a revitalized, uniform appearance in your cherished space.

