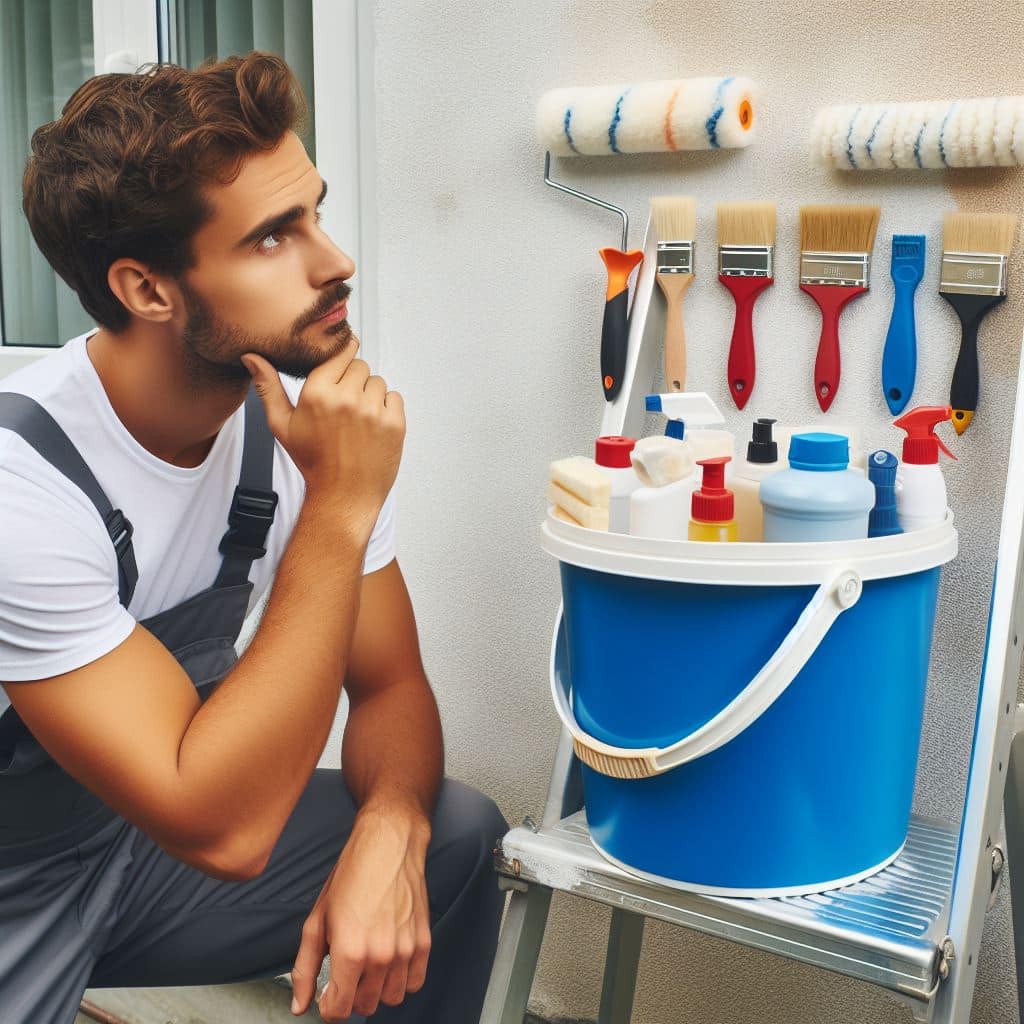
To wash exterior walls before painting, use a solution of water and mild detergent or a mixture of water and TSP (trisodium phosphate). Attach a soft-bristled brush to the mixture for effective cleaning.
Before beginning any exterior painting project, preparing the walls is essential to ensure a smooth, long-lasting finish. Proper cleaning removes dirt, grime, and mildew, creating a clean surface for the new paint to adhere to.
When preparing exterior walls for painting, the key question is, “What to Use to Wash Exterior Walls Before Painting?” The right washing technique involves using a diluted cleaning solution that can effectively remove accumulated filth without damaging the wall’s surface.
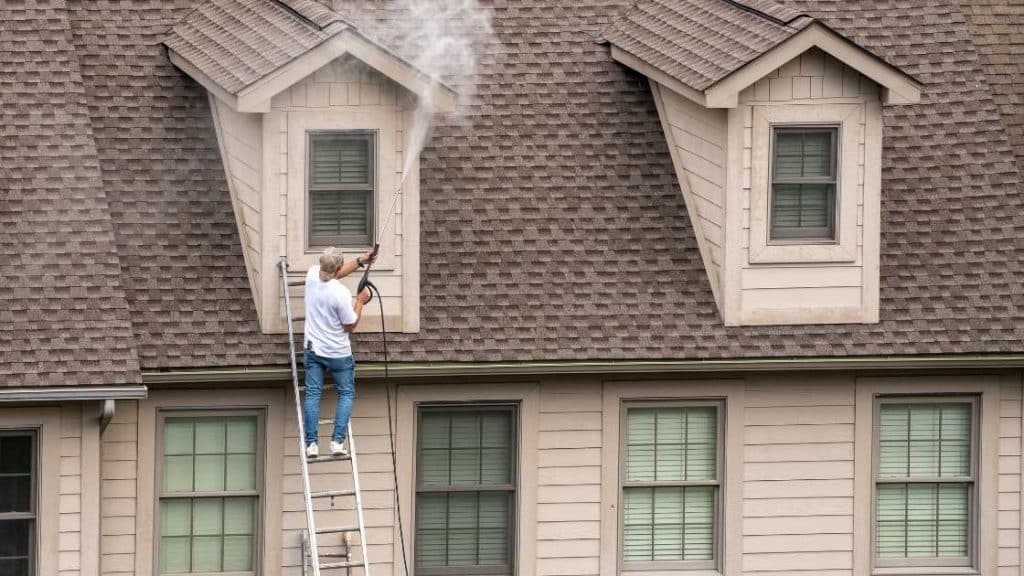
Water mixed with a gentle soap or specialized cleaning agent like TSP is typically recommended. It is crucial to apply the solution with a soft brush or a low-pressure washer to prevent any harm to the wall’s substrate. This pre-painting step is paramount for both the visual outcome and the longevity of the paint job.
Getting Ready to Paint Outside Walls
Bold paints begin with clean walls. Preparing exterior walls for painting is like setting a robust foundation for a skyscraper. The key to a stunning, long-lasting paint job is the surface beneath. This section unveils how to prep your walls for a fresco that beckons admiration.
Importance Of Cleaning Walls Before Painting
Why clean before you coat? Dust, dirt, and spider webs often cling to exterior walls. These unwanted guests can cause paint to flake, fade, or blister.
Cleaning ensures a smooth, clean canvas for your new coat of paint. Plus, it helps the paint stick better and last longer.
Overview Of Preparation Steps For Optimal Painting Results
- Inspect walls for damage and necessary repairs.
- Wash walls to remove dirt, mildew, and grime.
- Scrap off old peeling or flaking paint.
- Apply primer to ensure even paint application.
- Choose the right tools for painting.
Follow these steps, and you’re set for painting success!
Know Wall Dirt
Before painting exterior walls, it’s essential to clean them properly. Appreciation of the specific types of contaminants that adhere to your walls is the first step toward a successful painting project.
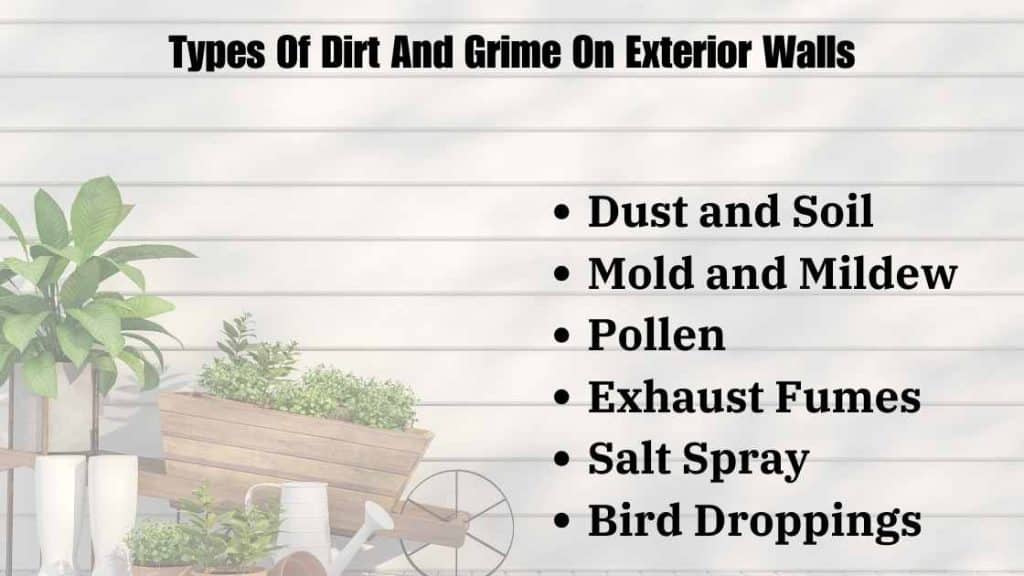
Types Of Dirt And Grime On Exterior Walls
Different walls face unique challenges. Here’s a list of common dirt and grime your walls might accumulate:
- Dust and Soil: Carried by wind and rain, sticking to surfaces.
- Mold and Mildew: Thriving in damp, shaded areas.
- Pollen: Sticking to walls during certain seasons.
- Exhaust Fumes: Staining walls near busy roads.
- Salt Spray: Coating walls in coastal regions.
- Bird Droppings: Containing acids that damage paint.
Effects Of Environmental Exposure On Surfaces
Environmental factors affect surfaces over time. The following table shows typical impacts:
| Exposure Type | Effects on Surfaces |
|---|---|
| UV Rays | Fading and weakening of paint. |
| Moisture | Peeling paint and growth of mold. |
| Temperature Fluctuations | Expansion and contraction leading to cracks. |
| Pollution | Discoloration and chemical reactions on surfaces. |
Identifying the types of dirt and appreciating the environmental effects help choose the right cleaning method. Clean walls ensure better paint adhesion and a long-lasting finish.
Choosing The Right Cleaning Solution
Choosing the Right Cleaning Solution is vital to prepare exterior walls for painting. A clean surface ensures the paint will adhere well and last longer. Different types of dirt require different solutions. Let’s explore the best options available.
Commercial Vs. Homemade Cleaning Solutions
Commercial cleaners offer convenience and are specially formulated for effectiveness. Often, they contain chemicals that tackle tough stains. On the other hand, homemade solutions can be more cost-effective and customizable.
| Commercial Cleaners | Homemade Mixtures |
|---|---|
|
|
Eco-friendly Options For Exterior Wall Cleaning
Eco-friendly cleaning agents reduce harm to the environment. Naturally derived substances are biodegradable. They effectively cleanse surfaces without leaving harmful residues. Here are some recommended options:
- White vinegar solution
- Simple soap and water mixture
- Diluted citrus-based cleaners
Safety Considerations When Selecting Cleaning Agents
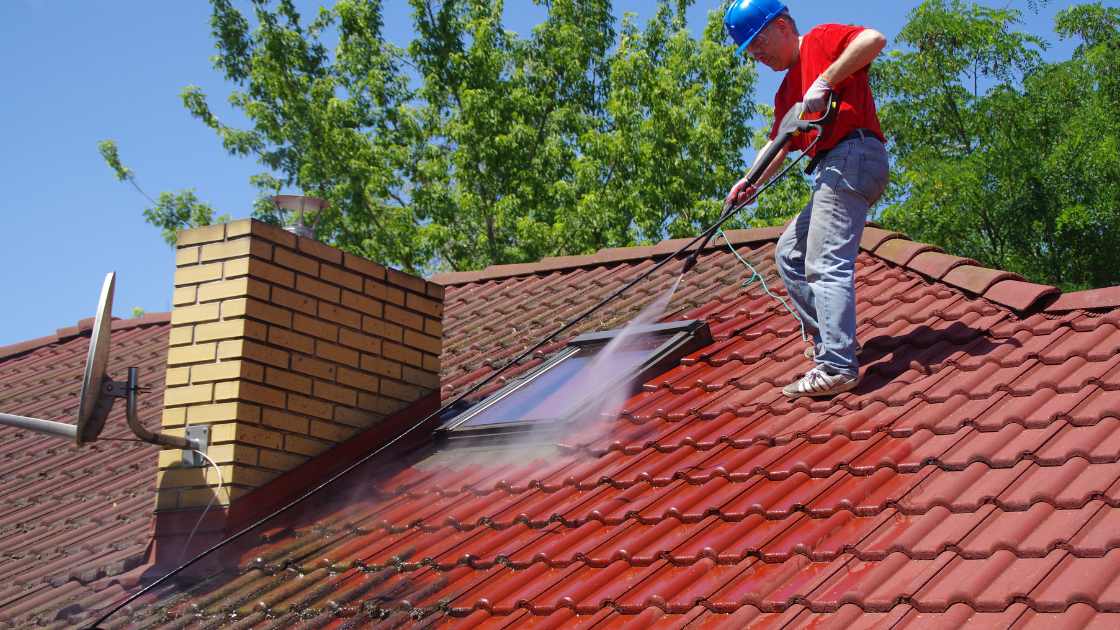
Always prioritize safety. Some cleaning solutions pose health risks. Respiratory problems or skin irritation can occur with improper use. Take the following precautions:
- Read product labels carefully
- Use protective gear like gloves and masks
- Choose solutions with low volatile organic compounds (VOCs)
Tools And Equipment For Effective Washing
Preparing your home’s exterior walls for painting is vaital. Proper washing ensures the paint adheres well and looks great. A range of tools and equipment can make the process thorough and efficient. Let’s take a closer look at these essentials.
Manual Cleaning Tools: Brushes And Scrubbers
For a hands-on approach to cleaning, several manual tools work well. Brushes and scrubbers are the backbone of effective wall washing:
- Stiff-bristle brushes are perfect for removing loose paint and stubborn dirt.
- Soft-bristle brushes clean without damaging the wall surfaces.
- Scrubbers tackle the tougher grime, prepping your walls perfectly.
Using these tools requires elbow grease but ensures a detailed clean, especially in hard-to-reach areas.
Power Washing: Equipment And Techniques
For a faster, more impactful clean, power washing is the way to go:
- Pressure washers remove dirt and mildew quickly.
- Various nozzle attachments allow for different pressure settings and angles.
- Biodegradable cleaning solutions can be used with the equipment for an eco-friendly wash.
Important: Always use low to medium-pressure settings to avoid wall damage.
Proper technique involves uniform strokes and keeping the nozzle at least 12 inches from the wall.
The Washing Process: Step-by-step Guide
Before updating your home with a fresh coat of paint, it’s essential to start with a clean slate. Washing exterior walls might seem straightforward but requires attention to detail. Follow this comprehensive guide for effective pre-paint cleaning.
Pre-wash Treatments And Stain Removal
Begin with a gentle approach to protect your walls while removing dirt and stains.
- Inspect walls for mildew, grease, and tough stains.
- Apply a mix of bleach and water to kill mildew. Remember safety gear!
- Use specialized cleaners for grease or soot. Scrub spots gently with a soft brush.
Techniques For Washing Different Wall Materials
Different surfaces require unique methods. Match the technique to your wall material.
| Material | Technique |
|---|---|
| Wood | Soft-bristled brush with mild detergent |
| Vinyl or Aluminum | Soft cloth or sponge with a soapy solution |
| Brick | Pressure washer on low setting, brick-safe cleaner |
| Stucco | Gentle spray with a garden hose, non-abrasive cleaner |
Rinsing And Drying For A Spotless Surface
After washing, thorough rinsing ensures no residue is left behind.
- Rinse walls from top to bottom to avoid streaks.
- Use a garden hose with a nozzle for controlled water flow.
- Allow walls to dry completely. Speed up the process with fans if needed.
Drywalls provide the perfect canvas for new paint.
Avoiding Common Mistakes When Washing Walls
Before painting exterior walls, a clean surface is key. Proper washing removes dirt, dust, and grime, ensuring the paint adheres well and lasts longer. But beginners often make mistakes that can affect the final painting job.
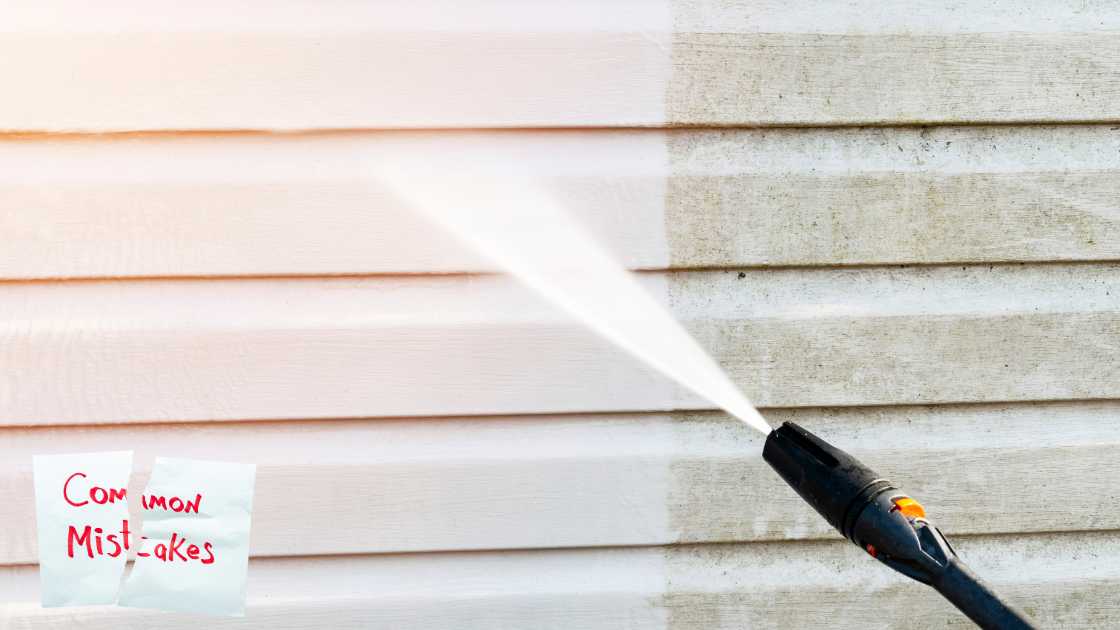
Common errors can hinder the wall-cleaning process. These include using the wrong cleaning solutions or tools, missing areas, and inconsistent cleaning methods. Focusing on the correct techniques saves time and money.
Overlooked Areas And Consistency In Cleaning
Cleaning every wall section is vital. Missed spots can lead to uneven paint application. Check hidden corners, under eaves, and behind downpipes.
These are areas often missed. Use a systematic approach to ensure consistency. Start at the top and move down systematically.
Preventing Damage To Walls And Surrounding Areas
Use the right pressure when washing walls. Too much force can damage surfaces, especially if they’re old or worn.
Shield plants and nearby items with plastic sheeting to prevent damage from runoff cleaning solutions. Choose eco-friendly cleaners to protect the environment.
Final Preparations And Primer Application
After washing your home’s exterior walls, it’s time for the final touches before painting. Proper preparations ensure the paint will look great and last for years.
This includes checking for any needed repairs, selecting the best primer, and applying it correctly. Let’s guide you through these critical steps for a professional finish.
Inspecting Walls For Repairs After Washing
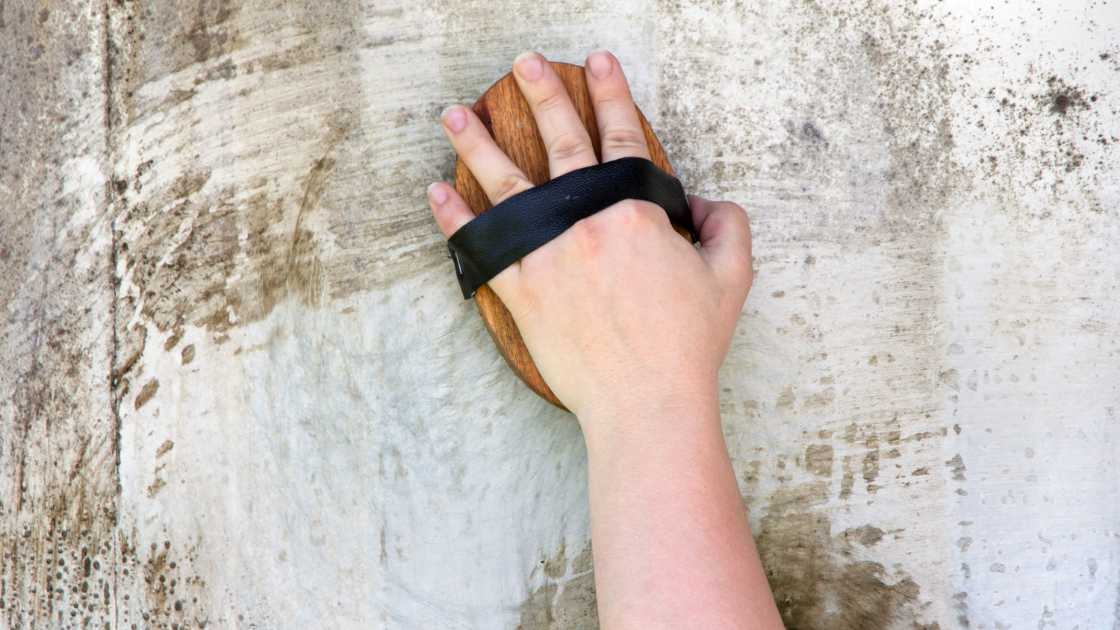
Inspecting your walls for damages after washing is essential. Look for cracks, holes, or other issues. Small repairs can make a big difference to the final paint job. Use these steps for a thorough check:
- Examine closely for visible signs of damage.
- Touch and press the walls to feel for hidden issues.
- Repair damages with appropriate filler or sealant.
Choosing The Right Primer For Your Exterior Walls
Choosing the right primer is essential for long-lasting results. Primers help paint adhere and protect walls. Consider these factors:
| Wall Material | Recommended Primer |
|---|---|
| Wood | Oil-based or Latex Primer |
| Masonry | Masonry Primer |
| Metal | Rust-inhibitive Primer |
Applying Primer: Techniques For A Sturdy Base
Applying primer correctly forms a sturdy base for your paint. Use these techniques for the best coverage:
- Clean the brush or roller before starting.
- Apply evenly, covering all nooks and crannies.
- Let dry according to the primer instructions.
Remember: Smooth and even primer application will result in a superior paint finish.
Frequently Asked Questions For What To Use To Wash Exterior Walls Before Painting
What Do You Clean Outside Walls With Before Painting?
Before painting exterior walls, clean them with a mixture of water and a mild detergent. For tougher grime, use a mixture of bleach and water, and rinse thoroughly after washing.
What Is The Best Thing To Wash Exterior Walls With?
The best thing to wash exterior walls with is a mixture of warm water and mild detergent. For tougher stains, consider using a diluted bleach solution or specialized wall cleaner. Always rinse walls thoroughly after washing.
What Do Professional Painters Use To Clean Walls Before Painting?
Professional painters typically use a mixture of water and mild dish soap or a pre-paint cleaner like TSP to remove dirt and grease from walls before painting. They may also use sugar soap for effective cleaning.
How Do You Clean The Exterior Of A House Before Painting?
First, use a pressure washer to remove dirt from the house’s exterior. Next, scrub any stubborn grime with a brush and soapy water. Rinse the surface thoroughly. Allow the surface to dry completely before starting to paint.
What is the best chemical to clean before painting?
The best chemical to use for cleaning surfaces before painting is often a trisodium phosphate (TSP) solution. TSP effectively removes dirt, grease, and other contaminants, ensuring a clean and smooth surface for optimal paint adhesion.
How do you clean exterior painted surfaces?
To clean exterior painted surfaces, start by removing loose dirt and debris with a soft brush or broom. Then, use a mild detergent or a mixture of water and vinegar to scrub the surface gently with a sponge or soft cloth, followed by a thorough rinse with clean water to maintain the paint’s integrity.
Conclusion
Preparing your exterior walls for a fresh coat of paint is a vital step. Opt for the right cleaners and tools to ensure a pristine surface. Remember, a thorough clean-up sets the stage for painting success and long-lasting beauty. Invest time in the preparation; your walls are deserving of it.

