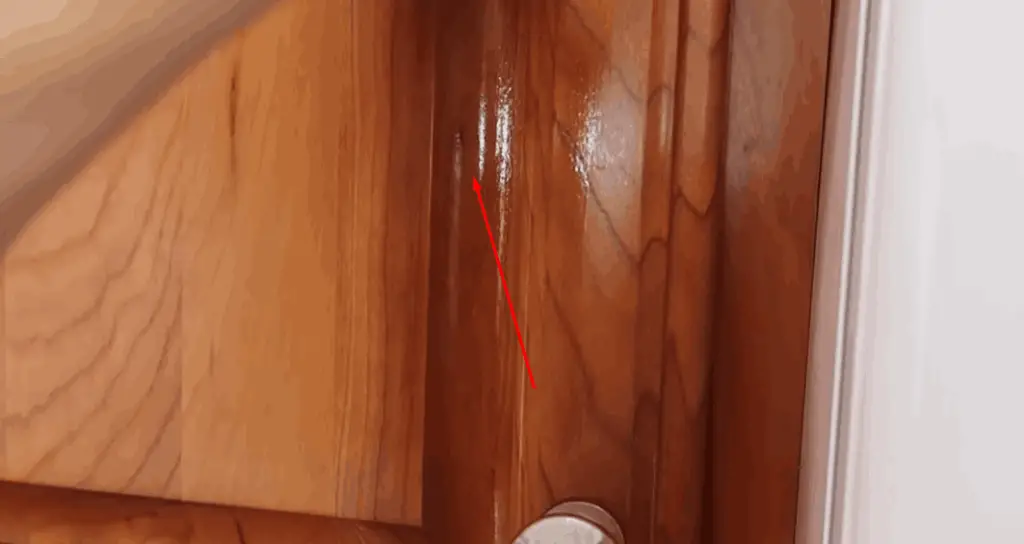
To remove grease from furniture, quickly blot the stain with a clean cloth, then apply a mixture of baking soda and water. Let the paste sit to absorb the grease before wiping off and cleaning the area with a mild detergent.
Dealing with a grease stain on your beautiful furniture can be alarming. The key is to act fast and avoid spreading the grease further. By using everyday household items—like baking soda, which is known for its absorbent properties—you can effectively tackle the issue.
Begin by gently blotting the excess grease with a paper towel. Then, sprinkle a generous amount of baking soda over the stain and let it sit for at least 15 minutes. Afterward, carefully vacuum or brush away the baking soda.
For stubborn stains, you can create a paste by mixing baking soda with a small amount of water and applying it to the affected area. Allow the paste to sit for an additional 15-20 minutes before wiping it away.
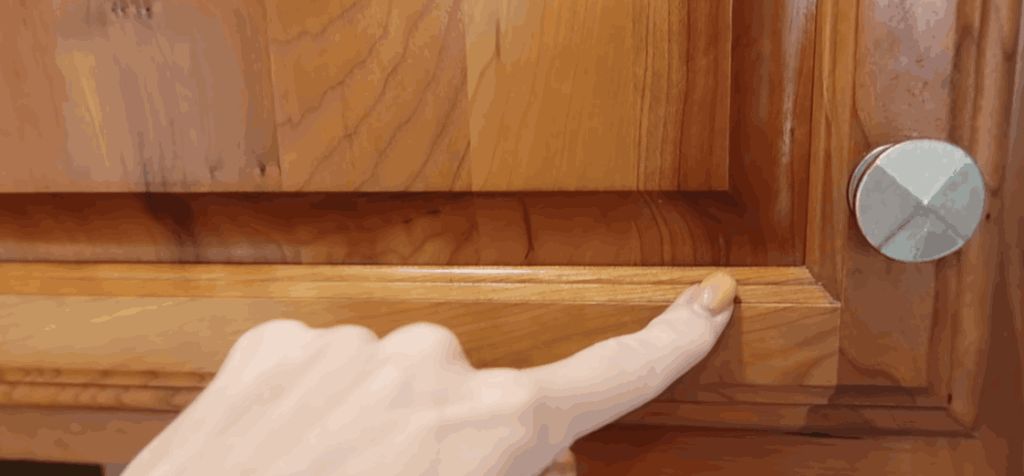
Always test a small, inconspicuous area first to ensure compatibility with your furniture’s material. Remember, quick action and the right cleaning methods can help you successfully remove grease from your furniture. How to Get Grease Out of Furniture?
Taking prompt action ensures that the grease doesn’t set in, making the cleaning process more straightforward. A simple homemade solution not only safely dislodges the grease but also keeps your furniture looking pristine.
Remember, patience and gentle techniques are essential for maintaining the integrity of your furnishings while restoring their original allure.
Grasping Furniture Grease Stains
Grease stains on furniture are a common issue in any home. The stains are tough. They stick to different materials. Knowing the type of grease and furniture material helps in cleaning. Let’s sink in to understand how grease interacts with different furniture materials.
The Composition Of Grease And Its Interaction With Furniture Materials
Grease is a mix of oils and fats. These substances come from food, oils, or industrial sources. Grease can seep into furniture fabrics and surfaces. When it does, it forms a bond that is hard to break. This bond causes the visual stain and the greasy feel.
- The fabric absorbs grease quickly.
- Leather repels water but not oil-based stains.
- Wood can soak up grease which makes it tricky to remove.
Natural degreasers break down grease. They help lift the stains from the furniture materials. Warm water and dish soap are simple and effective. You can also find stronger cleaners.
Types Of Furniture Materials And Their Vulnerability To Grease
Furniture materials react to grease in unique ways. Knowledge of materials guides the cleaning process.
| Furniture Material | Vulnerability to Grease |
|---|---|
| Fabric | High: stains and absorbs quickly. |
| Leather | Moderate: stains slowly but deeply. |
| Wood | High: absorbs and may damage finish. |
| Metal | Low: can be wiped but may leave a residue. |
| Plastic | Low: repels grease but can discolor. |
Cleaning products must match the material. Always test in an unseen area. Follow manufacturer guides or consult professionals when in doubt.
Pre-treatment Steps For Grease Stain Removal
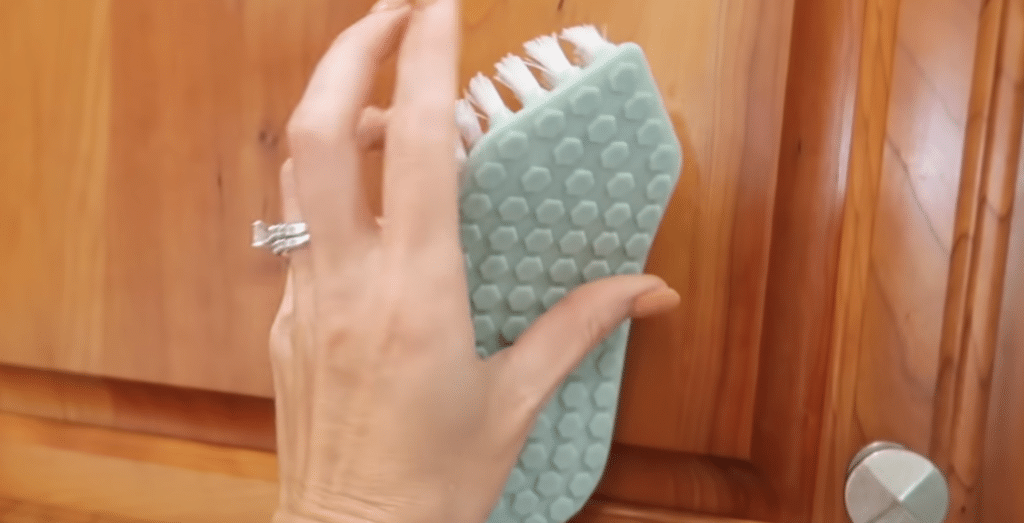
Before attempting to remove a grease stain from furniture, it’s essential to take the right pre-treatment steps. These initial actions can significantly reduce damage and improve the outcome of your cleaning process. Follow these guidelines to prepare the stained area for treatment.
Assessing The Extent Of The Stain
Evaluate the stain carefully. Determine its size and depth. Check whether the grease has penetrated beyond the surface. Note the type of fabric or material. Each one needs a different cleaning approach.
Vacuuming To Remove Loose Particles
Use a vacuum cleaner with an upholstery attachment. Run it over the stained area. This step removes any loose dirt or debris that could spread when cleaning. Focus on the grease stain edges to prevent spreading.
- Clear the area around the stain.
- Vacuum gently to avoid pushing grease deeper into the fabric.
- Empty the vacuum if full, for maximum suction.
Diy Grease Stain Removers
Dealing with grease stains on furniture can be tough. But fear not! Simple, effective DIY Grease Stain Removers are right at home. Get ready to tackle those stubborn stains with ingredients you likely already have!

Homemade Solutions: Vinegar, Baking Soda, And More
Vinegar and baking soda pack a punch against grease. Here’s a handy method:
- Mix equal parts white vinegar and water.
- Apply to the stain lightly.
- Sprinkle baking soda over the top.
- Scrub gently with a soft brush.
- Wipe clean with a damp cloth.
For tougher stains, a paste of baking soda and water can sit for a few hours before scrubbing.
The Power Of Cornstarch And Talcum Powder
Cornstarch and talcum powder are great for absorbing grease. Try this:
- Dust the stain with cornstarch or talcum powder.
- Let it sit for 10-15 minutes to absorb the grease.
- Brush away the powder gently.
- Repeat if necessary.
Commercial Grease Stain Solutions
Spills and splatters are part of life, but they don’t have to mean the end for your favorite furniture. Commercial grease stain solutions can revive your beloved pieces. This guide sinks into the best products and methods for eliminating those stubborn greasy marks.
Choosing The Right Commercial Cleaner For Your Furniture
Not all cleaners are equal. Choosing the right commercial cleaner is crucial.
- Check the fabric label: Match the cleaner to your furniture’s material.
- Opt for specific grease removers: They target grease effectively.
- Consider upholstery-safe options: Avoid damage to delicate fabrics.
- Read reviews: Learn from others’ experiences with the product.
How To Use Commercial Degreasers Safely
Using degreasers safely protects both furniture and users.
- Read the instructions: Every product has unique guidance.
- Test a small area: Apply a bit of cleaner to an inconspicuous spot.
- Wear gloves: Protect your hands from chemicals.
- Ventilate the room: Ensure good airflow while cleaning.
- Use sparingly: A little goes a long way with these potent solutions.
The Step-by-step Process Of Removing Grease
Welcome to ‘The Step-by-Step Process of Removing Grease’ from your beloved furniture.
Whether from an accidental spill or regular use, grease stains can be an eyesore.
With the right approach, restoring your furniture to its former glory is simpler than you might think.
Follow these clear steps, and you’ll tackle those stubborn stains in no time.
Applying The Cleaning Solution: Techniques And Tips
Begin by choosing the right cleaning solution for your furniture type.
Baking soda works well for most fabrics, while leather requires a specialized cleaner.
- Test on a small, inconspicuous area first.
- Gently sprinkle or apply cleaner onto the stain.
- Let it sit for 5-10 minutes to absorb the grease.
Be sure to follow the instructions on your cleaner for the best results.
Gentle Blotting Versus Scrubbing: What You Need To Know
After applying your cleaner, it’s time to address the stain directly.
Blotting is key – scrubbing can worsen the situation.
- Use a clean, dry cloth or paper towel for blotting.
- Press down gently on the stain.
- Avoid rubbing to prevent the grease from spreading.
Repeat as needed until most of the grease lifts away.
For persistent stains, consider a soft bristle brush and light motion to break up the grease.
Rinse with a damp cloth if the cleaning solution requires it.
Special Considerations For Different Types Of Furniture
Removing grease from furniture requires a careful approach. Each material demands unique treatment. Identifying the most effective cleaning tactic prevents damage.
Know your materials for lasting results. Use these tips for leather and fabric furniture.
Leather Furniture: Special Care Instructions

Leather is durable yet sensitive. Start with blotting excess grease with a clean, dry cloth. Avoid scrubbing; this can embed the grease deeper.
Next, sprinkle cornstarch or baking soda on the affected area. Let it sit overnight. These powders absorb oil without harsh chemicals.
Afterward, use a vacuum with a soft brush attachment to remove the powder carefully. Finish with a leather conditioner to restore moisture and protect the surface. Do not apply water; it can stain the leather.
Fabric Upholstery: Avoiding Water Stains And Shrinkage
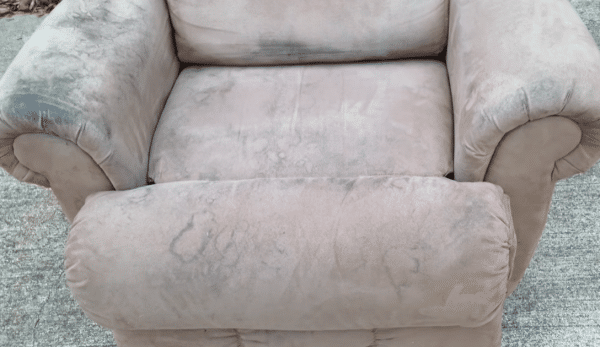
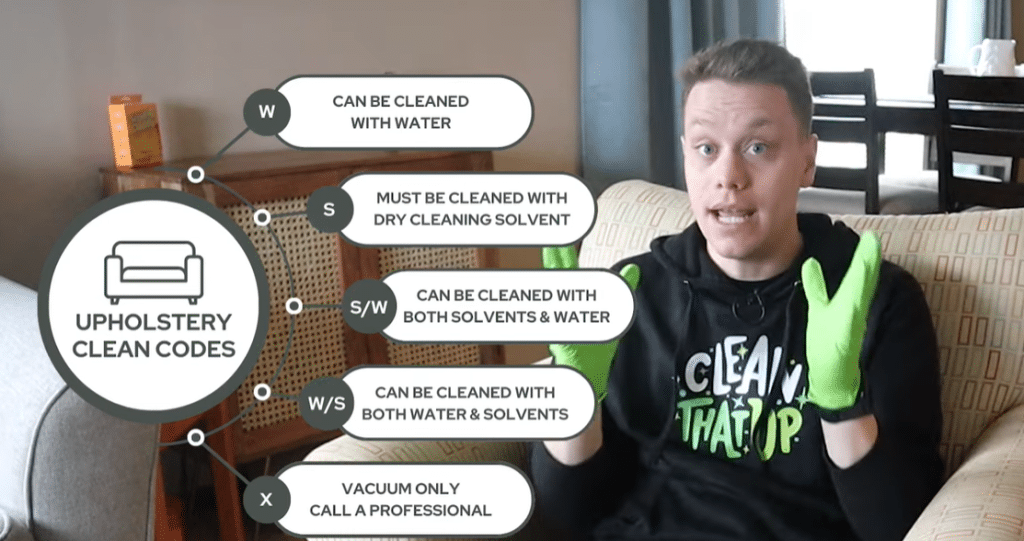
The fabric needs a gentle touch. Test any cleaner on a hidden area first. Use a dry cleaning solvent or create a mixture of dish soap and water.
- Dab the solution onto the grease spot with a cloth.
- Blot gently until the grease lifts.
- Avoid soaking the fabric; this can cause water stains and shrinkage.
- Let the area air-dry completely.
If stains persist, consider a professional cleaner as a safe next step. Regular maintenance keeps the furniture looking great.
Rinsing And Neutralizing The Area After Cleaning
Successfully removing grease from furniture involves more than just applying a cleaning solution. After scrubbing away the stain, it’s essential to rinsify and neutralize the area. This step ensures no cleaning agent remnants remain, which might attract more dirt over time.
The Importance Of Thorough Rinsing
Thorough rinsing washes away any leftover grease or soap. It’s the key to making your furniture look new again. Use a clean, damp cloth to gently rinse the area. You may need to do this a few times, depending on the size of the grease spot.
- Check the fabric care label first for any special instructions.
- Use a clean sponge or cloth soaked in water.
- Press gently on the cleaned area to remove cleaning solution traces.
- Repeat until the water runs clear and no soap bubbles form on the surface.
Neutralizing The Cleaned Area To Prevent Residue
After rinsing comes the neutralizing step. This helps in averting any chance of soap residue setting in. Use a mixture of water and white vinegar for a natural neutralizer.
| Material | Instructions |
|---|---|
| White Vinegar | Combine one part vinegar with two parts water. |
| Clean Cloth | Dip in the mixture and wring out excess liquid. |
| Furniture Surface | Wipe gently to neutralize the area. |
Once your fabric has been neutralized, allow it to dry completely before use. This reduces the risk of any leftover residue and leaves your furniture refreshed and clean.
Drying And Post-cleaning Care
No furniture is immune to accidents, and grease stains can be tricky. After applying a cleaning solution to tackle the grease, what comes next is essential for the longevity and appearance of your furniture.
Drying and post-cleaning care ensure your furniture doesn’t just look clean but stays in pristine condition.
Best Practices For Drying Treated Furniture
Proper drying after grease removal is key. Keep these pointers in mind:
- Avoid direct heat or sunlight which may damage the fabric.
- Use a clean, dry cloth to blot the area gently.
- Air circulation is vital, so open windows or use a fan.
Allow the furniture to dry completely before use to prevent odors or mildew.
Maintaining Furniture After Grease Stain Removal
To ensure the furniture stays in top shape, follow these tips:
- Vacuum regularly to remove dirt and prevent stains.
- Apply a fabric protector to guard against future stains.
- Check manufacturer’s labels for specific care instructions.
Treat spots quickly and avoid harsh chemicals that may damage the fabric.
This content provides clear, concise guidelines on how to properly dry furniture after treating grease stains and how to maintain it afterward, ensuring longevity and a clean appearance.
Preventing Future Grease Stains
No one likes a splotchy sofa or a marked-up armchair. Grease stains on furniture can turn a treasured piece into an eyesore.
But with a few smart strategies, you can keep your furniture looking fresh and clean. Let’s explore ways to prevent these unwelcome spots from making a comeback.
Protective Covers And Treatments
Protective covers shield furniture from spills and grease. They are easy to wash and replace. Choose covers that complement your decor. You can also use throw blankets. They add style and protection.
- Slipcovers for sofas and chairs
- Placemats or armrest covers
- Machine-washable throws
Special treatments can also add a layer of defense. Furniture sprays make fabrics less absorbent to grease. Apply these treatments yearly or as needed.
Regular Maintenance To Avoid Grease Build-up
Regular cleaning keeps furniture grease-free. Dust and vacuum weekly to avoid grit that mixes with oils.
| Frequency | Action |
|---|---|
| Weekly | Dust and vacuum |
| Monthly | Wipe with a damp cloth |
| Yearly | Deep clean or professional service |
Keep grease-tempting snacks away from the furniture. Use dining areas for eating. Instruct kids on tidy habits. Clean spills quickly to prevent stains.
- Avoid eating on couches
- Teach children clean habits
- Act fast on accidental spills
Maintaining a grease-free furniture environment takes simple actions. Use protective layers. Treat fabrics. Keep up with cleaning routines. Your furniture will thank you with years of spotless beauty.
Professional Cleaning Services
Sometimes home remedies and elbow grease meet their match in stubborn furniture stains. Before frustration sets in and damage occurs, professional cleaning services can save the day.
Knowing when to pick up the phone can mean the difference between a spotless sofa and a smudgy settee.
Assessing When Diy Methods Are Not Enough
It can be tough to admit defeat when battling against greasy furniture stains. Signs your efforts aren’t cutting it include:
- Stain persistence after multiple treatments
- Discoloration or damage to the fabric
- Unidentifiable or particularly stubborn stains
- Spreading of the original stain
- Use of inappropriate cleaning products leads to further soiling
These indicators suggest it’s time for expert intervention.
The Benefits Of Professional Stain Removal
Enlisting the help of pros comes with perks:
| Benefit | Description |
|---|---|
| Expertise | Trained technicians use proper techniques for your furniture’s fabric. |
| Equipment | Professionals have high-grade tools not typically available to DIYers. |
| Efficiency | Quick resolution of stains reduces furniture downtime. |
| Effectiveness | Pro treatments often result in more thorough stain removal. |
| Piece of Mind | Less stress knowing your furniture is in capable hands. |
Remember, professional cleaning might cost more upfront, but preventing further damage or ineffective cleanup can save money in the long run. When your furniture’s lifespan is at stake, call the cleaning experts. They’re equipped to handle even the peskiest of grease stains, ensuring your homely havens stay spotless and inviting.
Frequently Asked Questions Of How To Get Grease Out Of Furniture
What Removes Grease From Furniture Effectively?
For effective grease removal, use a combination of baking soda and dish soap. Apply this mixture to the affected area, let it sit for a few minutes, and then gently scrub with a soft brush. Wipe clean with a damp cloth.
Can Vinegar Clean Grease Off Furniture?
Yes, vinegar can clean grease off furniture. Create a solution of equal parts water and white vinegar. Spray on the greasy area and let it sit for several minutes. Then wipe off with a soft cloth, following up with a dry towel.
Are Commercial Grease Removers Safe For Furniture?
Many commercial grease removers are safe for furniture, but always check the product’s label for suitability with your furniture material. Test it on a small, inconspicuous area first to ensure it doesn’t cause damage.
How To Prevent Grease Stains On Furniture?
To prevent grease stains, use furniture protectors like arm covers and tablecloths. Clean spills immediately and apply a fabric or upholstery protector spray as a preventative measure.
How do you clean and remove grease?
To clean and remove grease from furniture, mix equal parts white vinegar and water and apply the solution to the greasy spots using a soft cloth. Gently scrub the affected areas, then wipe them clean with a dry cloth to restore the furniture’s shine and cleanliness.
Are grease stains permanent?
No. Spots from grease can go away if you quickly use powder or starch. Wash or get help for a full cleanup.
Conclusion
Tackling tough grease stains on furniture need not be daunting. With these practical tips, you can remove unsightly spots effectively, restoring your furnishings to their former glory. Remember, quick action and the right methods are your best allies. Keep these solutions handy for a clean, welcoming space that feels like home.

