
If You want to know about “How to Clean Doors before Painting?” Please read the full content nicely.
To clean doors before painting, remove dust with a vacuum and wash surfaces with a degreasing cleaner. Rinse thoroughly and let dry before sanding lightly.
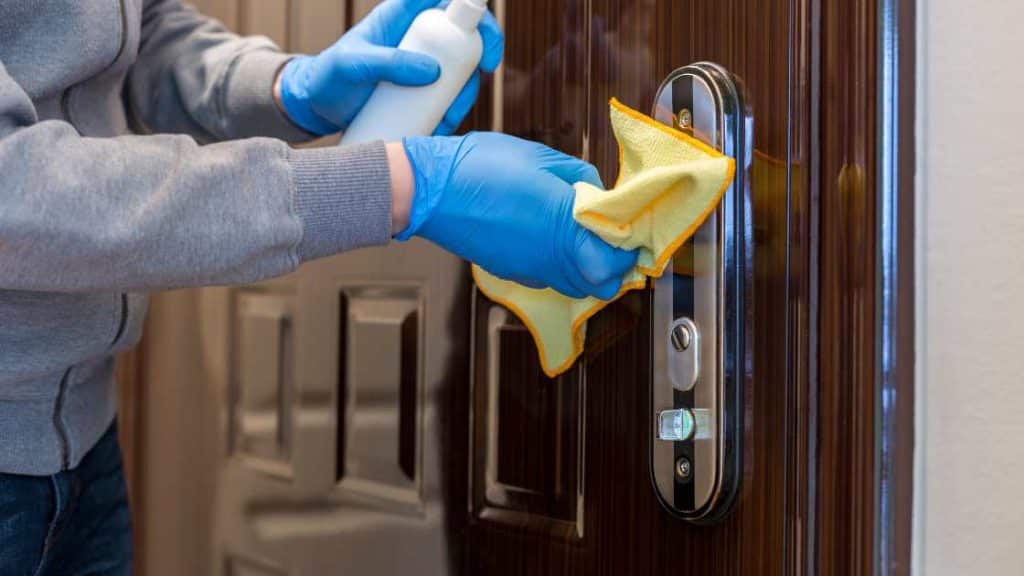
Preparing doors for a fresh coat of paint is a pivotal step in ensuring a flawless finish. Start by clearing any dust and debris that could interfere with adhesion using a soft brush attachment on your vacuum cleaner.
Employ a potent degreasing agent—appropriate for the door’s material—to eliminate grease, fingerprints, and other contaminants that can prevent paint from bonding correctly.
After applying the cleaner, it’s necessary to rinse the surface thoroughly with clean water to avoid leaving any residue behind.
Once the door is dry, a light sanding ensures the primer and paint will adhere well, creating a smooth, long-lasting finish.
This process not only improves the durability of the paint job but also enhances the overall appearance of your door, making it look professionally done.
Introduction To Door Painting Preparations
Refreshing your home’s doors with a new coat of paint can transform their look. But a great paint job starts well before the first brushstroke. Preparing your doors for painting is a important step. It ensures a smooth, lasting finish. Cleaning the doors removes dirt, grease, and old paint. Let’s discuss how to do it right.
Importance Of Cleaning Doors
Clean doors are vital for painting. Dirt and residue affect paint adhesion. This can cause chipping and peeling. Proper cleaning also reveals areas needing repair. A clean surface allows the new paint to stick well.
Types Of Doors And Their Specific Cleaning Needs
Different doors need different cleaning methods. Wooden, steel, and fiberglass doors all have unique needs. Here’s how to approach each:
- Wooden doors: Mild detergent and soft scrubbing maintain the wood’s integrity.
- Steel doors: Use a degreaser to tackle tough stains, and rinse well.
- Fiberglass doors: A simple soap solution works, but avoid abrasive tools.
Remember to let doors dry completely before applying primer or paint. Proper drying avoids paint defects. After drying, a smooth, professional-quality finish is one step closer.
Gathering Your Cleaning Supplies
Gathering Your Cleaning Supplies is a step in prepping your doors for a fresh coat of paint. Clean surfaces ensure the paint adheres well and looks smooth. Let’s start by discussing what you will need.
Essential Cleaning Tools And Materials
To thoroughly clean your doors, you need the right tools.
- Mild detergent or degreaser
- Soft cloths or sponges
- Bucket for mixing cleaning solutions
- Gloves to protect your hands
- Scraper to remove old paint
- Sandpaper for smoothing rough spots
- Tack cloth to pick up residual dust
These materials help clean without damaging the door.
Choosing The Right Cleaning Solutions For Your Door
The cleaning solution should match your door’s material.
| Type of Door | Recommended Cleaning Solution |
|---|---|
| Wooden Doors | Soap and water, avoid harsh chemicals |
| Metal Doors | Mild detergent, or specialized metal cleaner |
| Fiberglass Doors | Non-abrasive cleaner, mild soap |
Use gentle solutions to avoid damage.
Initial Cleaning Process
Before you dip your brush in paint, the proper cleaning of doors ensures a flawless finish. The initial cleaning process is vital. It promises that the paint adheres well and lasts longer. A thorough clean-up strips away dirt, oils, and any hidden surprises. Let’s dive into the steps for a clean canvas.
Dust Removal: The First Step To A Clean Surface
Start with a clean slate by banishing dust from every corner:
- Use a dry cloth or a duster to wipe the door.
- Reach into grooves with a soft-bristled brush.
- Don’t forget the top edge and side ledges.
For the best results, vacuuming after brushing captures lingering particles.
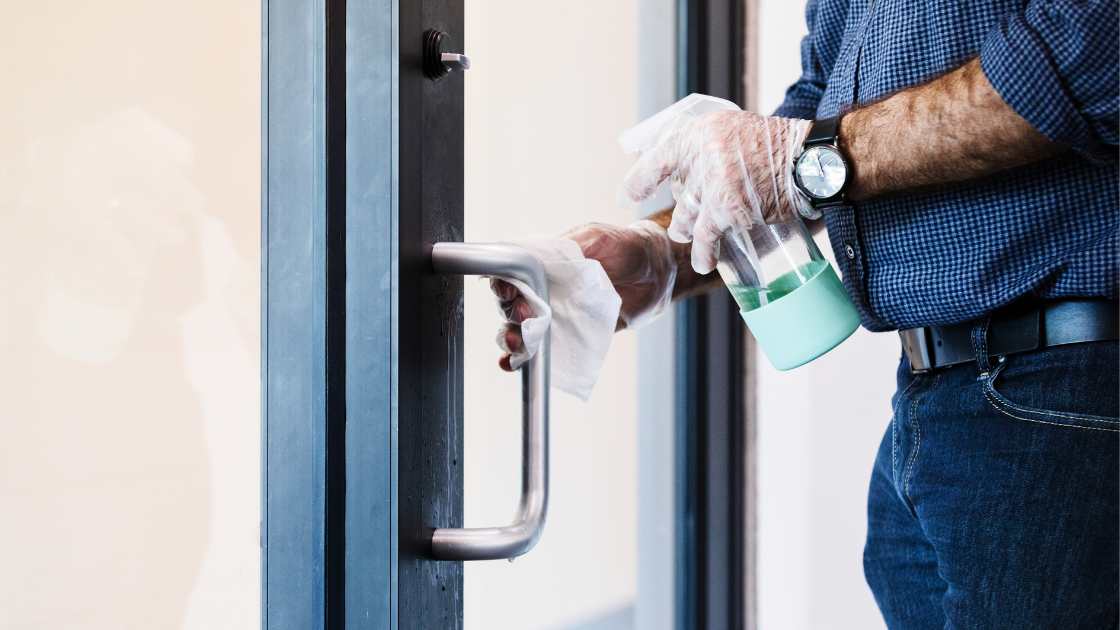
Washing Down The Door To Eliminate Grime
After dusting, wash the surface:
- Mix mild detergent with warm water.
- Use a sponge or soft cloth to apply the solution.
- Gently scrub to lift stubborn grime.
Focus on high-traffic spots like doorknobs and edges. Rinse with a damp cloth to remove soap residue.
To avoid water damage, dry the door immediately with a clean towel.
Deep Cleaning Techniques For Stubborn Stains
Before applying that first stroke of paint, ensure your doors are pristine. Stubborn stains can be a challenge, but don’t let them dampen your spirits. Proper cleaning guarantees flawless paint adherence and a beautiful finish.
Identifying And Treating Different Stain Types
Each stain has its nemesis. From greasy fingerprints to crayon masterpieces, doors collect various stains. Good cleaning starts with identifying the stain type and selecting the best treatment.
| Stain Type | Cleaning Agent |
|---|---|
| Oil & Grease | Dish soap & water mixture |
| Adhesive Residue | Rubbing alcohol or vinegar |
| Crayon or Pencil | Baking soda paste |
| Water Stains | May require light sanding |
Test a small area first. Some surfaces may react adversely to certain cleaners. Always do a patch test in an inconspicuous spot.
Home Remedies Vs. Commercial Cleaners For Tough Stains
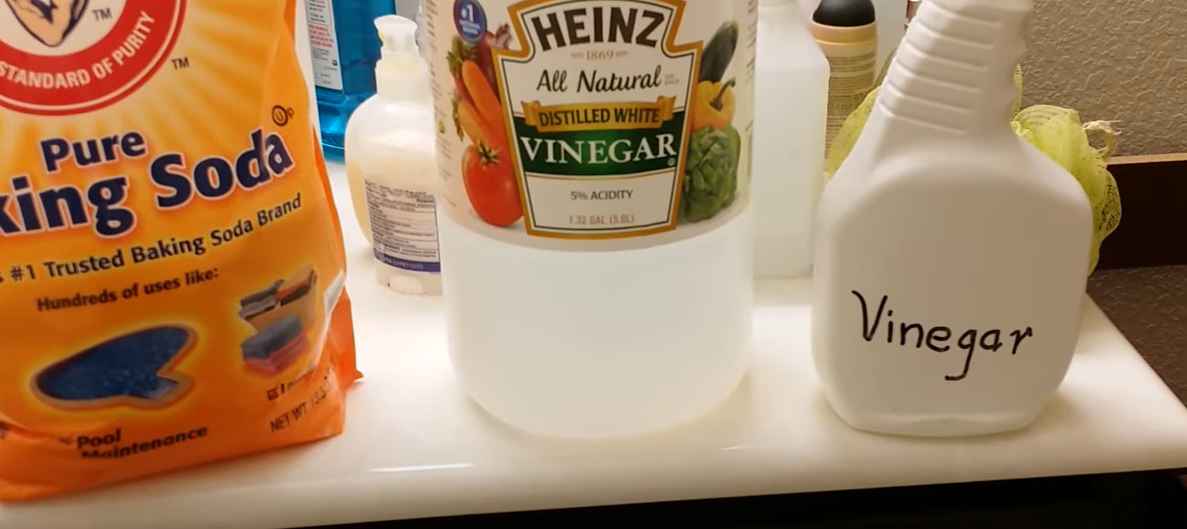
Home remedies shine with accessibility. Items like vinegar, baking soda, and lemon are not only effective but also gentle on the environment.
- Vinegar: Great for cutting through residue.
- Baking soda: Abrasive enough to tackle crayon marks.
- Lemon juice: Natural bleach for lightening stains.
Commercial cleaners pack a punch for deep stains. For persistent spots, commercial cleaners designed for pre-paint cleaning may be the best bet. They often provide a stronger formula capable of breaking down tough stains.
- Read labels: Ensure the cleaner is suitable for your door material.
- Follow instructions: Use as directed for safety and best results.
- Ventilate: Keep the area well-ventilated when using chemicals.
Endure a pristine canvas for painting by mastering these cleaning techniques. With a clean door surface, your paint will not only stick better but also have a lasting, flawless finish.
Addressing Hardware And Fixtures
Addressing Hardware and Fixtures is a step in preparing doors for a fresh coat of paint. Not only does it protect the hardware, but it also ensures a clean, crisp painting job. Proper cleaning eliminates dirt, dust, and grease that may prevent paint from adhering properly. Let’s dive into the best ways to clean around these important door components.
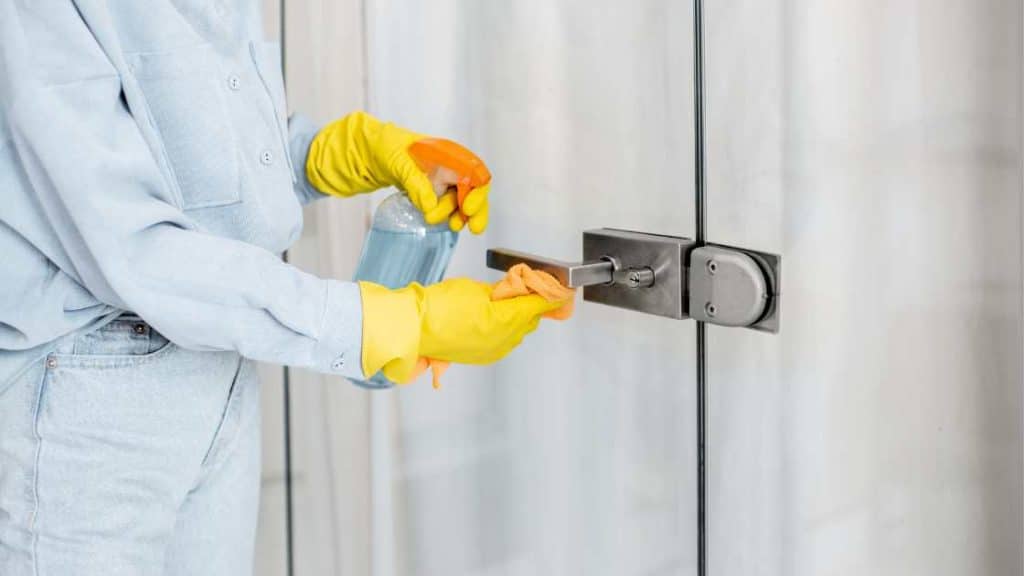
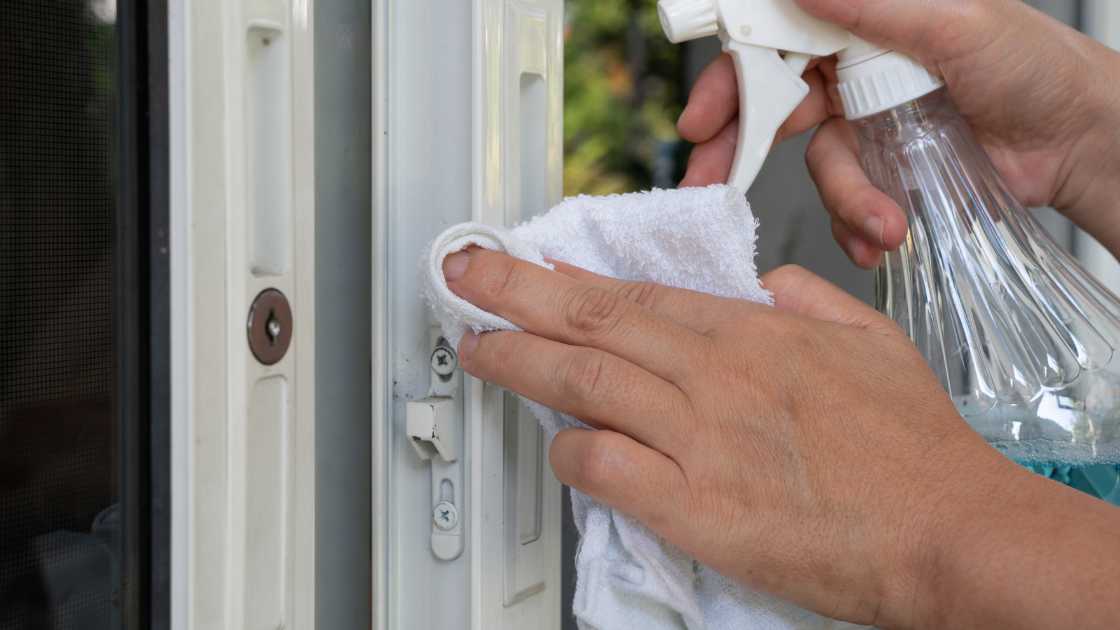
Cleaning Around Door Knobs, Hinges, And Locks
Door knobs, hinges, and locks collect fingerprints and dirt over time. To begin cleaning:
- Mix a gentle, soapy solution with warm water.
- Use a soft cloth to apply the solution. Wipe down each area carefully.
- Dry each fixture with a microfiber cloth to prevent rust or damage.
Avoid harsh chemicals as they can harm the finish of your hardware.
Temporary Removal Of Hardware For Thorough Cleaning
Removing hardware from your door allows access to all nooks and crannies. Follow these steps:
- Unscrew knobs, hinges, and locks using a screwdriver.
- Place all components in a soapy water solution to soak.
- After soaking, gently scrub with a soft-bristle brush.
- Rinse with clean water and dry thoroughly.
- Reattach each piece only after painting and drying.
Keep all screws and small parts in a labeled bag to avoid losing them.
Safety Measures And Environmental Considerations
Before diving into your painting project, it’s essential to prioritize safety and the environment. Preparing doors for a fresh coat of paint involves cleaning them thoroughly. This step is vital for paint adhesion and finish.
However, it’s essential to protect yourself and the planet during the process. Following simple safety and eco-friendly practices ensures everyone’s well-being.
Personal Protective Equipment
Using the right Personal Protective Equipment (PPE) is a must. It keeps you safe from harmful chemicals and debris. Here is a checklist of PPE to use:
- Gloves: Choose durable gloves that resist chemicals.
- Goggles: Protect your eyes from splashes and dust.
- Mask: A mask filters out dust and fumes.
Ensure all PPE fits well. Assign a place for storing PPE after use. This habit reduces the risk of contamination.
Eco-friendly Cleaning Alternatives
Consider the planet while preparing doors for painting. Utilize eco-friendly cleaners to prevent pollution. Here are green alternatives to traditional cleaning solutions:
- Vinegar Solution: Mix equal parts of water and vinegar.
- Baking Soda Paste: Combine baking soda with water to form a paste.
- Castile Soap: Use this plant-based soap for gentle cleaning.
These alternatives minimize toxic chemicals in our water and air. Using them promotes a healthier environment.
Sanding And Smoothing The Door Surface
Prior to painting, a smooth door surface is key. Sanding down doors removes imperfections and ensures the paint adheres well. Correct sanding prepares doors for an exceptional finish.
Choosing The Right Sandpaper Grit
Choosing sandpaper is like picking a tool for the job. Fine grits smooth out minor flaws, while coarse grits strip old paint. Use this simple guide:
| Condition | Grit Range |
|---|---|
| Heavy Stripping | 40-60 Grit |
| Basic Sanding | 80-120 Grit |
| Final Smoothing | 150-220 Grit |
Start with a coarser grit to remove old finish. Progress to a finer grit for smoothing.
Sanding Techniques For A Flawless Finish
Proper sanding takes patience and skill. Follow these simple steps:
- Remove hardware and clean the door.
- Sand along the grain, not against it.
- Apply even pressure throughout.
- Check smoothness with your hand.
- Clean dust off before painting.
Use a sanding block for flat areas. For beveled edges or details, fold sandpaper or use a sanding sponge. Always sand the edges and corners with care.
Drying And Inspection Post-cleaning
Ready to give your door a fresh coat of paint? Great! But hold on, after cleaning, you need to ensure it’s perfectly dry and ready for a makeover. A well-prepped surface means a smoother paint job. Let’s focus on drying and inspecting your door post-cleaning.
Ensuring Adequate Drying Time
Don’t rush the drying process; it’s vital for a flawless finish. Here’s how to ensure your door dries completely:
- Wipe off excess water with a clean towel.
- Leave the door open to air dry.
- Use fans to speed up drying in humid conditions.
Check the door’s surface after an hour. Touch it to make sure it’s not damp. If it feels dry, wait a bit longer to be sure. You want a completely dry door before painting.
Assessing The Door For Unaddressed Issues
Once dry, it’s time for a thorough inspection. Look for these signs that need attention:
| Issue | Action Required |
|---|---|
| Peeling paint areas | Scrape and sand smooth |
| Cracks or holes | Fill with wood filler |
| Sticky residue | Clean with a mild solvent |
Remember to sand any rough patches after filling. Your door must feel smooth to the touch. Wipe down one last time to remove dust.
Now, your door is prepped and primed for painting. A clean, dry, and smooth door makes all the difference. With patience and proper preparation, you’re set to achieve professional results!
Applying Primer And Preparing For Paint
Getting ready to paint a door means more than just grabbing a brush. Applying primer correctly sets the stage for a smooth, lasting finish. This section will guide you through the essentials of primer and how to prepare your door for that perfect coat of paint.
The Role Of Primer In Door Painting
Think of primer as the undercoat that ensures your paint sticks. It has a few key jobs:
- Smooths out imperfections, creating an even surface.
- Blocks stains and wood tannins from bleeding through.
- Helps the paint adhere better and lasts longer.
Primer Application Techniques For Optimal Paint Adhesion
Applying primer the right way is critical for optimal paint adhesion. Follow these steps to ensure a flawless finish:
- Clean the door thoroughly with a degreaser.
- Sand the surface lightly, then wipe away dust.
- Use a high-quality brush or roller for even application.
- Apply a thin, even layer of primer on the door.
- Let the primer dry as specified by the product instructions.
- Inspect for drips or uneven spots, and lightly sand if necessary.
Taping And Protecting Surrounding Areas
Before swiping that brush, a clean canvas is a perfect finish. Taping and protecting surrounding areas is vital. Let’s prepare for a paint job that’s tidy and impressive!
Effective Use Of Painter’s Tape
Painter’s tape is a must for neat edges. It keeps the paint on the door and off everything else. Follow these simple steps to tape like a pro:
- Choose the right tape : Get painter’s tape, not masking tape.
- Clean surfaces first : Dust and dirt can stop tape from sticking.
- Apply with care : Press down the edge for a tight seal.
- Remove correctly : Peel off slowly at a 45-degree angle.
Covering Floors And Furniture To Prevent Paint Spills
Drips and spills can turn a painting task into a messy ordeal. Cover up to keep clean:
| Area | Material | Tip |
|---|---|---|
| Floors | Drop cloths or old sheets | Tape edges down to prevent slipping |
| Furniture | Plastic sheeting or tarps | Cover entirely, tuck in corners |
Always double check covers for gaps! Secure all protective materials firmly.
Painting Recommendations And Techniques
Before a door gets a fresh coat of paint, proper cleaning is very necessary. Clean doors lead to smooth and lasting finishes. Let’s dive into tailored recommendations and techniques for a perfect paint job.
Selecting The Right Paint For Your Door
Picking the correct paint ensures your door looks great and withstands use. Look for paints designed for doors. Semi-gloss or gloss finishes work best.
These finishes are easy to clean and resist smudges. Choose water-based paint for easy cleanup.
- Interior doors: Water-based latex paint is ideal.
- Exterior doors: Use acrylic or oil-based paints for durability.
Brush Vs. Roller Vs. Sprayer: Painting Methods Compared
Three common tools for painting doors are brushes, rollers, and sprayers. Each has unique benefits.
| Tool | Pros | Cons |
|---|---|---|
| Brush | Precise control, no overspray | May leave brush marks |
| Roller | Smooth finish, quick application | Not ideal for panel doors |
| Sprayer | Even coat, professional look | Requires more prep, overspray risk |
Tip: Remove hardware from the door first for an even paint job.
Use painter’s tape to shield areas you don’t want to paint. Allow the paint to dry fully before adding a second coat. Always follow the paint manufacturer’s instructions for the best result.
Maintenance And Care After Painting
Once your door boasts a fresh coat of paint, a little care will keep it looking great. Regular maintenance ensures that your hard work stands the test of time. Learn how to protect this investment with easy touch-ups and cleanings.
The Importance Of Touch-up Maintenance
A door is more than a home’s accessory; it’s a moving part that sees daily use. It’s inevitable for painted doors to get minor scratches or dings.
- Inspect your door monthly.
- Keep paint and a small brush handy.
- Apply light strokes to fix imperfections quickly.
These simple steps prevent larger touch-ups later on. They keep your door in top-notch condition.
Cleaning Tips For Painted Doors To Ensure Longevity
Cleaning a painted door isn’t just about aesthetics. It’s about preserving the life of the paint job itself.
| Frequency | Method | Tip |
|---|---|---|
| Weekly | Soft Dusting | Use a microfiber cloth. |
| Monthly | Gentle Washing | Mix mild soap with water. |
| As Needed | Spot Cleaning | Target marks with a soft sponge. |
Stay away from abrasive cleaners or heavy-duty tools that can scratch the paint. Gentle is the keyword for longevity. Always dry the surface after cleaning to avoid water marks. The right care extends the door’s life and keeps it looking fresh.
Frequently Asked Questions On How To Clean Doors Before Painting
Why Is Cleaning Doors Important Before Painting?
Proper cleaning removes dirt, grease, and grime. It ensures paint adheres well and lasts longer. Neglecting this step can lead to a subpar paint job that may peel or chip prematurely.
What Materials Do I Need To Clean Doors?
For effective cleaning, you need mild detergent, a sponge or cloth, and water. Optionally, use sugar soap for tougher grime. Rinse thoroughly and allow the door to dry before painting.
Can I Paint Over Dirty Doors?
Painting over dirty doors can cause poor adhesion, leading to peeling. It’s essential to clean doors to ensure the paint bonds to the surface for a smooth and long-lasting finish.
What’s The Best Cleaner For Pre-paint Preparation?
A mild, soapy solution works well for general cleaning. For more stubborn areas, consider a trisodium phosphate (TSP) solution. Always follow the cleaner’s instructions and rinse the door afterward.
Conclusion
Preparing your doors for a fresh coat of paint is simpler than you might think. By following the steps outlined, you ensure a smooth, professional-looking finish. Remember, a clean surface is key to excellent adherence and stunning results. Happy painting, and here’s to beautiful doors that make a lasting impression!