How to Clean a Second Hand Chair, first vacuum it thoroughly, then use a suitable upholstery cleaner. Address stains by spot cleaning with a gentle solvent.
Buying a second-hand chair can bring vintage charm or cost-effective functionality to your living space. Entering the second-hand market reveals a world of unique furniture pieces, each with a story to tell. As you bring a pre-loved chair into your home, its history often accompanies it in the guise of dirt, dust, and stains.
Ensuring a clean and welcoming addition to your home means giving your newly acquired chair the attention it needs. A thorough clean not only revitalizes the chair but also ensures it matches your cleanliness standards. This endeavor might seem daunting at first, but with the right approach, you can transform a dusty, perhaps grubby piece of furniture into a fresh, inviting seat. Embracing the steps to properly clean your second-hand chair is your first stride towards refurbishing it to its former glory.

Introduction To Second Hand Furniture Cleaning
Finding a second hand chair can be like discovering a hidden gem. Whether it’s a vintage piece or simply a cost-effective option, pre-owned chairs can add character to any room. The key to making the most of these finds lies in how well you clean and care for them. Proper cleaning not only refreshes the chair but also ensures it’s healthy to use and lasts longer.
Benefits Of Buying Second Hand Chairs
Second hand chairs offer multiple advantages:
- Eco-friendly choice
- – reduces waste and helps the environment.
- Saves money – often more affordable than new items.
- Unique style – vintage and rare finds create a distinct look.
- Quality craftsmanship – older chairs are often built to last.
Assessing The Cleaning Task At Hand
Before you begin, assess the condition and material of your chair:
| Material | Cleaning Approach |
|---|---|
| Fabric | Vacuum and spot clean or shampoo, depending on the fabric type. |
| Leather | Wipe with a damp cloth and use a leather conditioner. |
| Wood | Dust and apply wood cleaner or polish. |
| Metal | Use mild soap and water, then dry immediately to avoid rust. |
Test cleaning solutions on a small area first to prevent damage. Use the right tools and procedures to bring your second hand chair back to life.
Preparing For The Cleaning Process
Starting with the right foot is key when cleaning a secondhand chair. We want to make sure no spot remains untouched and the chair looks as good as new. The first step is to prepare by gathering all the supplies and taking safety precautions. Let’s walk you through these initial steps.
Gathering Necessary Cleaning Supplies
Having the right tools and cleaning solutions makes the task easier and more effective. Here’s a list:
- Vacuum cleaner with an upholstery attachment
- Mild detergent or upholstery cleaner suitable for your chair’s fabric
- Soft-bristled brush for gentle scrubbing
- Microfiber cloths or sponges
- Bucket of warm water for easy rinsing
- Rubber gloves to protect your hands
Verify your chair’s material so you can pick the best cleaner for it. Leather, for instance, needs a special type of cleaner.
Protective Measures Before Starting
Protecting yourself and your surroundings is crucial during cleaning. See what you should do:
- Wear gloves to shield your hands from cleaning products.
- Open windows for ventilation if you’re using chemical cleaners.
- Place a drop cloth beneath the chair to guard the floor.
Remember to check a hidden part of the chair with the cleaner to prevent damage. Your chair is now set for a thorough clean-up.
Initial Cleaning Steps
Bringing a second-hand chair into your home can be exciting! Yet, a good clean is essential. Start with some initial cleaning steps. This ensures your chair is not only sparkling but also safe for use. Let’s jump into the process with some basic yet important tasks.
Removing Loose Dirt And Debris
First things first, let’s get rid of the visible dirt. Shake off the dust and use a vacuum cleaner. Attach a brush to gently remove any stubborn particles.
Follow these steps:
- Take the chair outside if you can.
- Gently pat it to shake off loose dirt.
- Vacuum the chair using the upholstery attachment.
- Get into all the crevices and corners.
Conducting A Spot Test For Cleaning Agents
Now, let’s ensure the cleaning agents won’t damage the chair. Always perform a spot test.
| Step | Action | Spot to Test |
|---|---|---|
| 1 | Pick a hidden area. | Under the seat or back corner. |
| 2 | Apply a small amount of cleaner. | Mark the area with tape. |
| 3 | Wait for 24 hours. | Check for discoloration or damage. |
If the area remains unchanged, the cleaner is safe to use. Handle with care to preserve the chair’s beauty and durability.

Deep Cleaning Fabric Upholstery
Chairs that come second-hand often hold hidden gems beneath a layer of dust and spills. A thorough deep clean of fabric upholstery can transform even the drabbiest chair. Let’s dive into effective methods that guarantee a fresh, vibrant-looking chair ready to elevate any room.
Vacuuming Fabric Surfaces
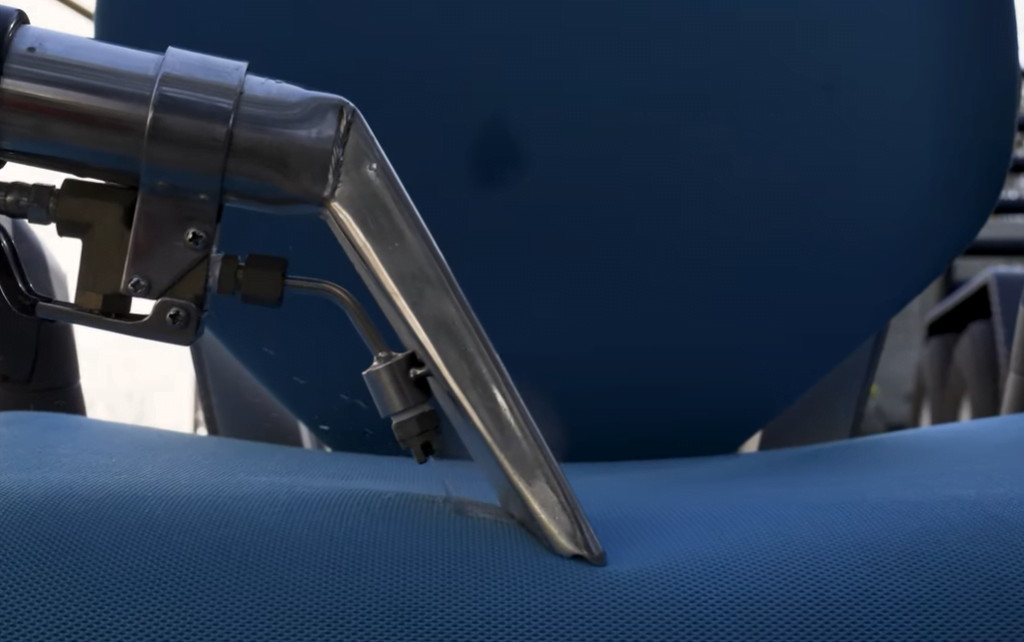
Before anything, always start with vacuuming. It lifts loose dirt, crumbs, and pet hair. Use an upholstery attachment for crevices. Slow, deliberate passes ensure deeper dirt removal.
- Remove cushions to vacuum both sides.
- Adjust vacuum settings suitable for fabric type.
- Clear edges and seams where debris accumulates.
Stain Removal Techniques For Fabrics
Address stains with tailored solutions. Blot fresh spills quickly with a clean cloth. Avoid circular motions that can worsen stains.
| Type of Stain | Treatment Method |
|---|---|
| Food/Beverage | Use a mixture of water and dish soap. |
| Oil/Grease | Apply baking soda before brushing off. |
| Ink | Dab with alcohol on a cotton ball. |
Steam Cleaning And Shampooing Upholstery
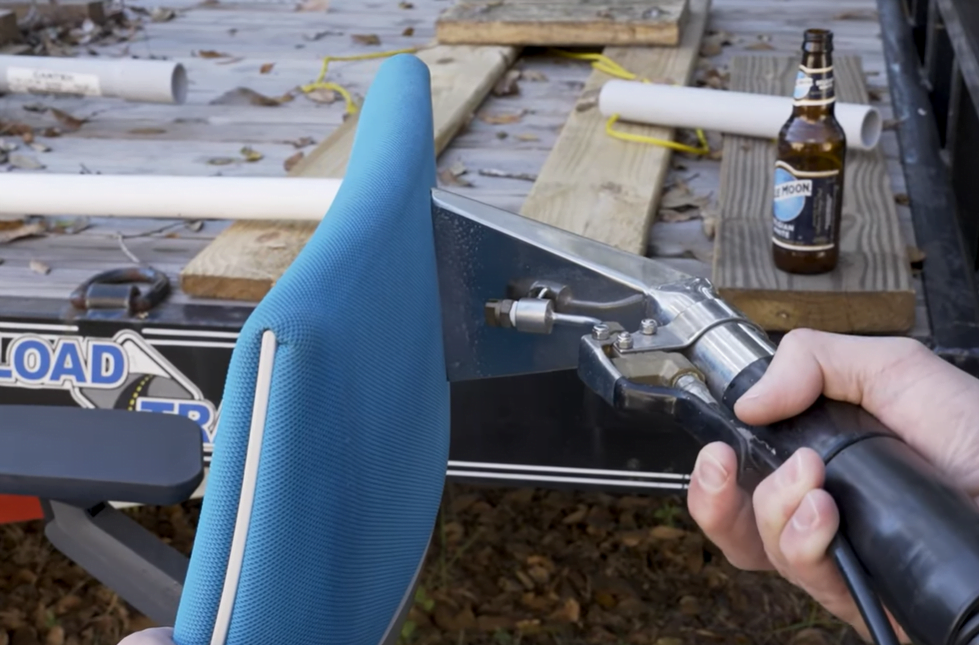
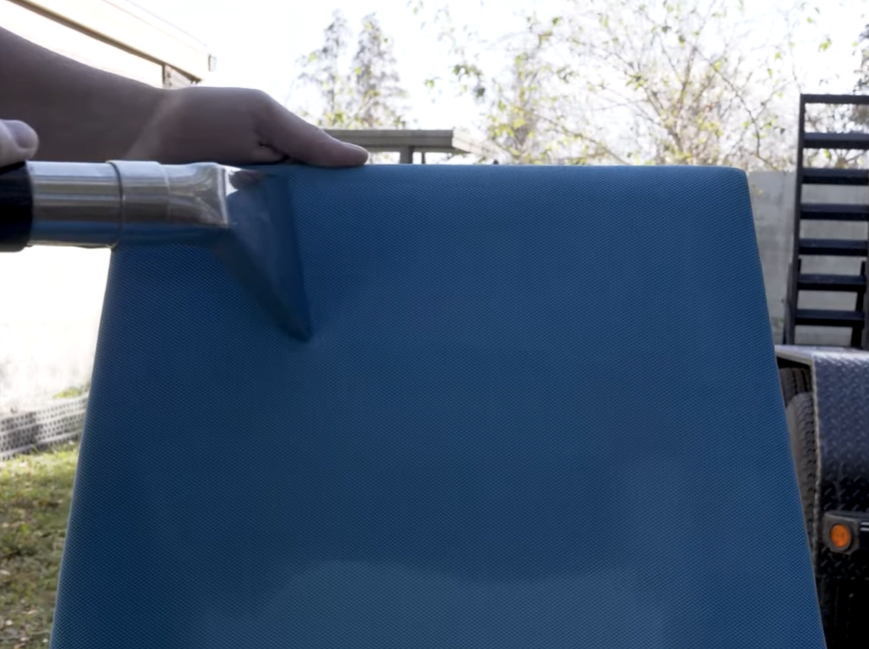
For a deeper clean, steam or shampoo. This lifts embedded dirt and refreshes fibers. Test products on small, unseen areas to check colorfastness.
- Pre-treat severe stains.
- Fill the steam cleaner with hot water and detergent.
- Work in sections to evenly clean.
- Let the chair air dry completely before use.
Treating And Polishing Wood Components
Welcome to the crucial step in reviving second-hand chairs: Treating and Polishing Wood Components. The natural beauty of wood can accentuate any chair’s allure, making a proper clean and polish essential. Through these dedicated steps, bringing luster back to wood is not just about aesthetics – it’s about protection too.
Cleaning Solid Wood Parts
Before polishing, a thorough clean ensures that the wood shines true. Start by gently dusting with a soft cloth to remove loose dirt. Avoid harsh chemicals that might damage the wood. Instead, opt for a mix of warm water and mild soap. Wipe with the grain using a soft sponge or cloth. Immediate drying with a clean towel prevents moisture damage.
- Dust all wooden areas with a microfiber cloth
- Prepare a soapy water solution
- Gentle wash with the wood grain
- Dry promptly using a soft towel
Applying Wood Conditioner And Polish
After cleaning, conditioning is vital. A good quality wood conditioner restores moisture lost over time. Apply an even layer; let it soak in before wiping any excess. Next, choose a polish based on the wood’s finish. Apply with a soft cloth in circular motions, let it set, then buff to your desired sheen.
- Choose the right wood conditioner
- Apply it evenly, then wipe excess
- Select a suitable polish
- Circular motions ensure even application
- Buff to a glow with a clean cloth
Caring For Leather And Faux Leather Chairs
Found the perfect second-hand leather chair? Great! These seating beauties need special care. Whether it’s genuine leather or faux, proper cleaning keeps them looking fresh. Ready to get started?
Wiping Down Leather Surfaces
- Begin by dusting off any loose dirt. Use a soft cloth. A regular cleaning routine prevents buildup.
- Next, make a cleaning solution. Mix mild dish soap with water.
- Dip a cloth in the mixture, wring it out. It’s important the cloth is damp, not wet.
- Gently wipe the leather surface. Move in circular motions. Avoid soaking the material.
Using Conditioners On Leather Chairs
- After wiping, let the chair dry naturally. Give it time before the next step.
- Apply a leather conditioner. This keeps the leather soft, preventing cracks. Ensure you use a product suited for your chair’s leather type.
- Use a soft cloth to apply the conditioner. Do it in a circular motion.
- Allow the conditioner to penetrate the surface for a few minutes.
- Buff the chair with another clean cloth. Your leather chair now has a revived, supple touch.
Tackling Metal And Plastic Elements
Revamping a second-hand chair involves more than a quick dust-off. Metal and plastic parts need special care to shine like new. Below are the best ways to deal with rust on metal and dirt on plastic.
Removing Rust From Metal
Unsightly rust can make a metal chair look old and uncared for.
- Inspect the chair for rust areas.
- Wear gloves to protect your hands.
- Use sandpaper or a wire brush to scrape away rust.
- Clean the area with a damp cloth to remove debris.
- Apply a rust converter to prevent further corrosion.
- Finish with metal paint or sealant for extra protection.
Cleaning Plastic And Synthetic Components
Dirt and grime stick to plastic, but cleaning is easy with the right tools.
| Material | Cleaning Agent | Tool |
|---|---|---|
| Plastic | Mild detergent | Soft cloth or sponge |
| Synthetics | Vinegar solution | Non-abrasive pad |
- Dilute the cleaning agent in water as per instructions.
- Gently scrub the surfaces with a soft cloth.
- Rinse with clean water to avoid residue.
- Dry with a microfiber cloth for a streak-free finish.
Special Considerations For Vintage Chairs
Give a grand old chair new life while respecting its past. Vintage chairs come with charm and history.
You don’t want to damage its story or worth.
Clean it the right way.
This means knowing special tricks for antiques.
Preserving Antique Value
Old chairs can be worth a lot.
Keep them in top shape. Use the right methods.
- Learn the chair’s history.
- Check labels or maker’s marks.
- Avoid harsh chemicals.
- Always do a spot test on an unseen area first.
This ensures you maintain their character and value.
Gentle Cleaning For Delicate Materials
Old materials need a soft touch.
Fabrics and woods from long ago aren’t like today’s. They can be fragile.
| Material | Cleaning Agent | Tool |
|---|---|---|
| Wood | Mild soap | Soft cloth |
| Fabric | Gentle foam | Soft brush |
| Leather | Conditioner | Microfiber cloth |
Be slow and cautious. Treat it like a treasure. It is one after all.
Odor Elimination Strategies
Cleaning second-hand chairs involves more than just tackling dust and stains. Odors can often linger, making odor elimination a key step in the process. Whether sourced from pets, smoke, or long-term storage, here we explore how to neutralize those stubborn scents so your chair smells as fresh as it looks.
Natural Odor Absorbing Methods
Going green with odor removal is not only eco-friendly but often just as effective as chemical alternatives. Here’s how to freshen up your chair using ingredients from nature:
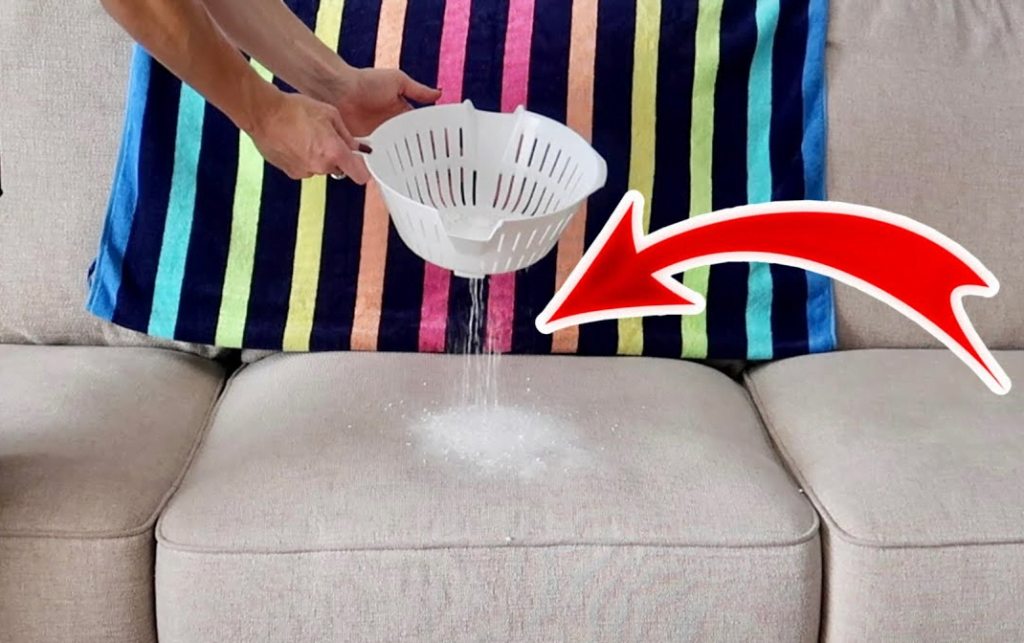
- Baking Soda: Sprinkle generously on upholstered surfaces and let sit for several hours, then vacuum.
- White Vinegar: Mix with water in a spray bottle and mist lightly on the chair, avoiding saturation.
- Coffee Grounds: Place a bowl of fresh grounds near the chair to absorb odors overnight.
Commercial Odor Neutralizers
For those tougher odors, commercial neutralizers offer a powerful solution.
| Product Type | Usage | Precaution |
|---|---|---|
| Enzyme Cleaners | Apply directly to the affected area | Avoid direct sunlight |
| Ozone Generators | Use in a well-ventilated space | Operate without people or pets around |
| Charcoal Bags | Place in close proximity to the chair | Replace every two months |

Regular Maintenance Tips
Keeping your second-hand chair in top shape requires simple yet effective steps. Engage in a regular cleaning routine and adopt preventive habits. This will extend your chair’s lifespan and keep it looking as good as new. Dive into our tips below for maintaining that fresh, clean look.
Regular Cleaning Routine For Chairs
Follow these steps each week:
- Vacuum the chair to remove dust and crumbs.
- Use a soft cloth to wipe down hard surfaces.
- For upholstery, mix mild soap with water and lightly dab.
- Spot clean any stains with a specialized cleaner depending on the fabric.
- Dry the chair thoroughly after cleaning to prevent mold.
Preventive Measures To Avoid Future Soiling
Maintain your chair’s cleanliness:
- Avoid eating or drinking while sitting to reduce spills.
- Place the chair away from high-traffic areas to lessen dirt accumulation.
- Use furniture protectors to shield against wear and tear.
- Rotate cushions regularly for even usage and wear.
Common Mistakes To Avoid
Bringing a second-hand chair back to life is exciting. Yet, some common cleaning mistakes can spoil your good find. Let’s dive into what not to do, ensuring your chair gets the treatment it deserves.
Using Harsh Chemicals On Sensitive Materials
Old chairs often have delicate fabrics or finishes. Boldly spraying them with aggressive cleaners might seem like a quick fix, but it can be a disaster. Here’s what to steer clear of:
- Avoid bleach or ammonia-based products on colored fabrics.
- Stay away from abrasive powders that can scratch surfaces.
- Don’t use all-purpose cleaners on leather or suede.
Instead, opt for gentle soaps, warm water, and a soft cloth. Test your cleaner in a hidden area first.
Overlooking The Manufacturer’s Cleaning Instructions
Many chairs come with specific care tags detailing how to clean them safely. Not checking these can lead to irreversible damage. Here’s a quick list to remember:
| Symbol | Meaning |
|---|---|
| W | Water-based cleaner is okay. |
| S | Dry-clean solvent only. |
| SW | Either water-based or dry-clean solvent. |
| X | Vacuum or brush only. No water/solvent. |
Follow these instructions for the best results and to keep your chair in top shape.
Conclusion And Final Touches
Reviving a second-hand chair involves detailed cleaning and care. The journey ends with making sure all efforts bear fruit. These final steps secure a fresh start for your pre-loved piece.
Ensuring Complete Dryness
After a thorough clean, chairs need to dry. Never skip this step. Dampness causes damage. It may lead to odors or mold. Place the chair in a well-ventilated area. Sunlight speeds drying, but avoid direct exposure to prevent fading.
- Check the fabric: Touch to ensure it’s dry.
- Inspect hidden areas: Look under the seat and in crevices.
- Use fans or a dehumidifier if humidity is high.
Performing A Final Inspection
Before placing the chair in its new spot, a meticulous inspection is key. Run your fingers along surfaces. Check for remaining stains. Ensure all parts are secure. Give it a gentle shake to test stability.
- Review the clean: Are there spots missed?
- Assess repairs: Did you tighten all screws?
- Final touch: Consider a fabric freshener for a pleasant scent.
| Area | Task | Check |
|---|---|---|
| Upholstery | Stain removal | Spotless |
| Legs | Tighten screws | Secure |
| Back | Structure check | Stable |
A perfectly dry, flawlessly clean chair awaits its new life. It sits ready to add charm to any room, a testament to your care and effort.
Frequently Asked Questions Of How To Clean A Second Hand Chair
How To Disinfect A Used Chair?
To disinfect a second-hand chair, mix equal parts of water and white vinegar in a spray bottle. Spray the solution onto the chair surface and wipe clean with a soft cloth. For tougher stains, let the solution sit for a few minutes before wiping.
Can I Steam Clean An Upholstered Chair?
Yes, steam cleaning is effective for upholstered chairs. It removes dirt and kills germs without chemical cleaners. Before steam cleaning, check the manufacturer’s instructions to ensure that steam cleaning won’t damage the fabric.
What’s The Best Way To Deodorize A Chair?
Baking soda is the best way to deodorize a chair naturally. Sprinkle it generously over the chair, let it sit for at least 15 minutes or overnight for strong odors, and then vacuum thoroughly.
Is It Safe To Use Bleach On Chairs?
Using bleach on chairs is safe only if the material is bleach-friendly. Dilute bleach with water and spot-test a hidden area. However, avoid bleach for colored and delicate fabrics, as it may cause discoloration or damage.
Conclusion
Restoring a pre-loved chair to its former glory is simpler than it seems. Armed with the right tools and tips, anyone can rejuvenate an old seat. Remember, regular maintenance extends its life and appeal. Happy cleaning, and enjoy giving that second-hand chair a fresh start in your home.

